

Robius5991
-
Posts
550 -
Joined
-
Last visited
-
Days Won
1
Content Type
Profiles
Halo Articles
Forums
Events
Gallery
Books
Movies
Posts posted by Robius5991
-
-
Thanks P5YC0PATH, I'm glad you liked it. I appreciate the support!
-
Intro:
Hello 343iCF, I'm here once again today to share with you all a map that I've been keeping under my cap for a few weeks. As most of you know, I'd imagine, TheHaloForgeEpidemic had announced their first contest about... I would say almost five weeks ago... and it's goal was to find the best map made to fit the gametype [PB] Purple Bunker. Well, since the two week submission period has already passed and it's been nearly three weeks since, I've grown a little restless of waiting for the video that will announce the winners of the contest, so therefore, I have come to the decision to reveal my map before the contest ends. So, I'll get right to it then!
Gamertag: Robius5991
Gametype: [PB] Purple Bunker
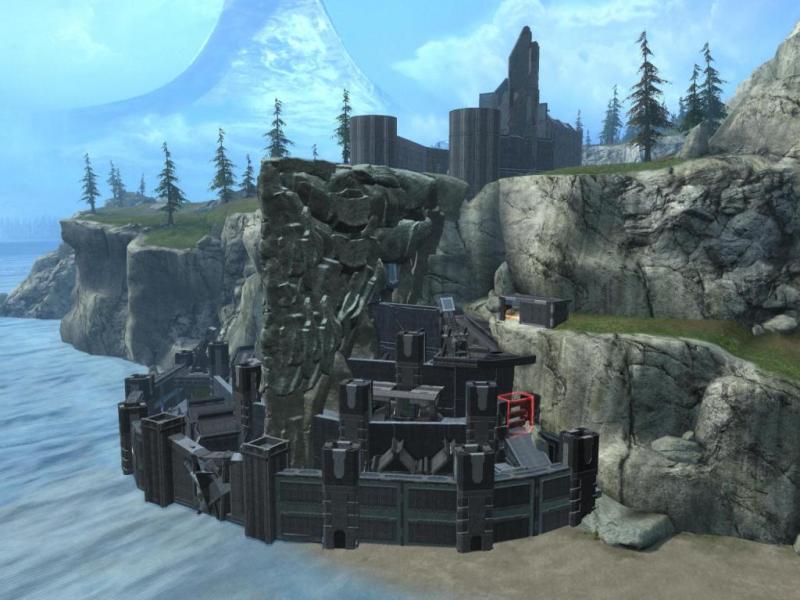
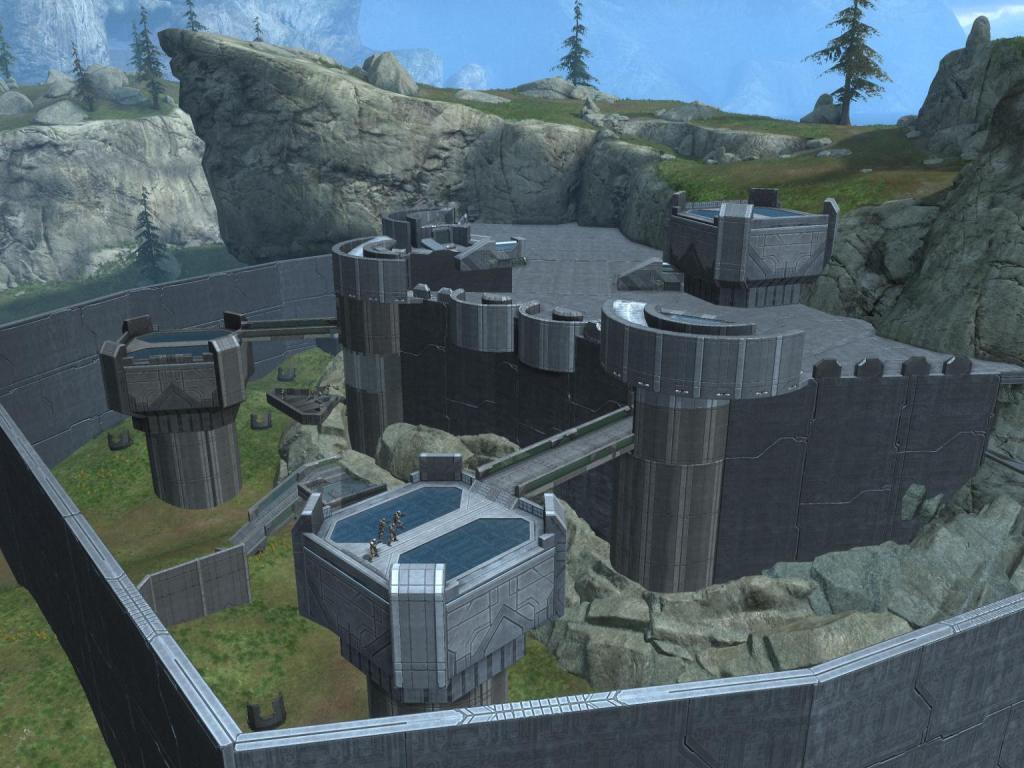
The map ([PB] Assassin's Creed):
Before I start the description, I would like to give you guys a little backstory to explain my choice in theme. When Oakley opened the contest, I had a few ideas in mind, such as Star Wars or LOTR, however my hopes were dashed when I heard him mention these themes, since I knew there would definitely be a few other people following those themes. Therefore, with my main ideas taken, I was trying to come up with something original, that no other players would think of making. That's when it dawned on me to make the map as an Assassin's Creed theme. I knew it would be challenging to convey such a theme, but I hope that when you all see my pictures and descriptions, you'll be able to notice the specific areas created. Starting here, there are spoilers to all Assassin's Creed games mentioned, if you don't want anything ruined, skip all the writing up to the conclusion.
To begin, as you all should know, every Purple Bunker map is broken in three areas. I decided to theme each after a different Assassin's Creed game. You'll notice in the pictures that I also tried to slip in some easter eggs within each phase.
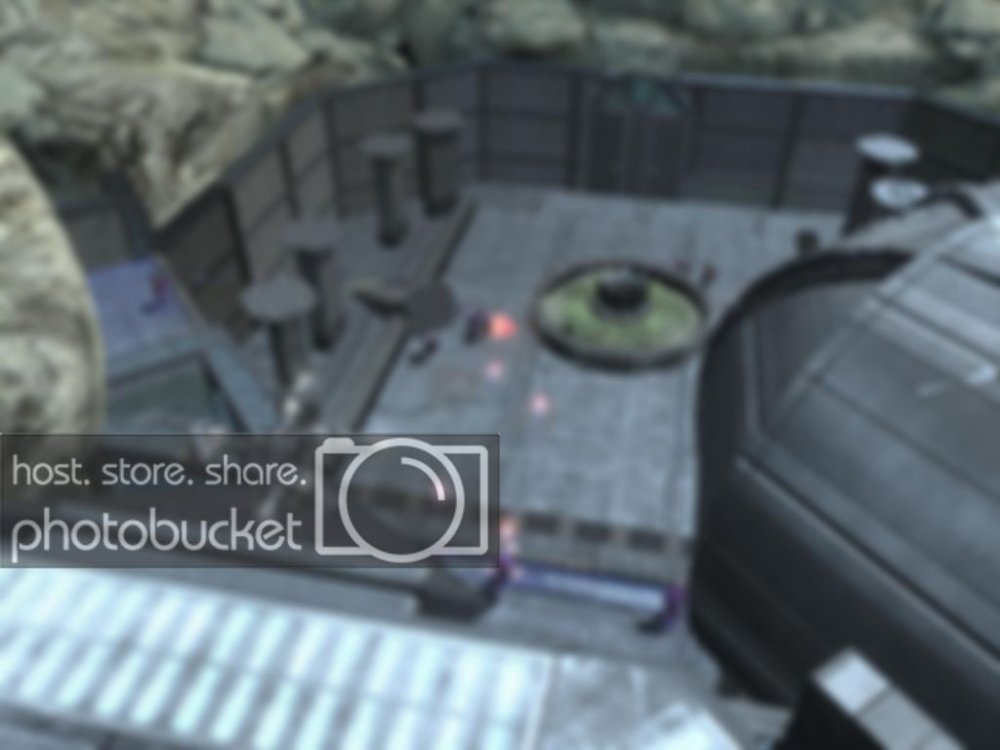
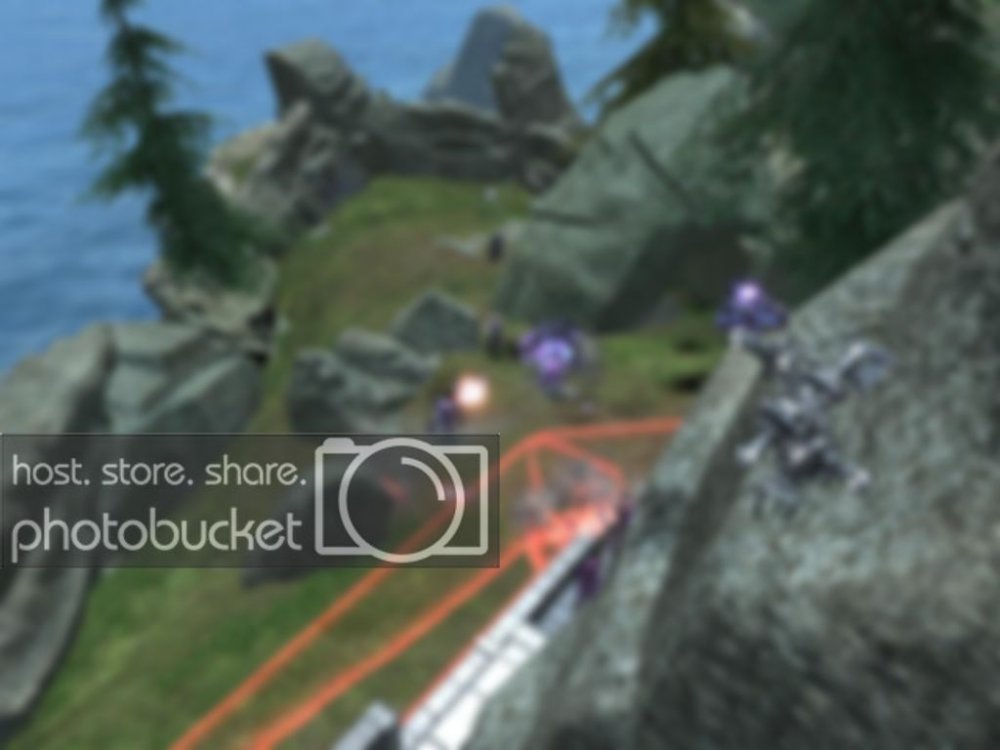
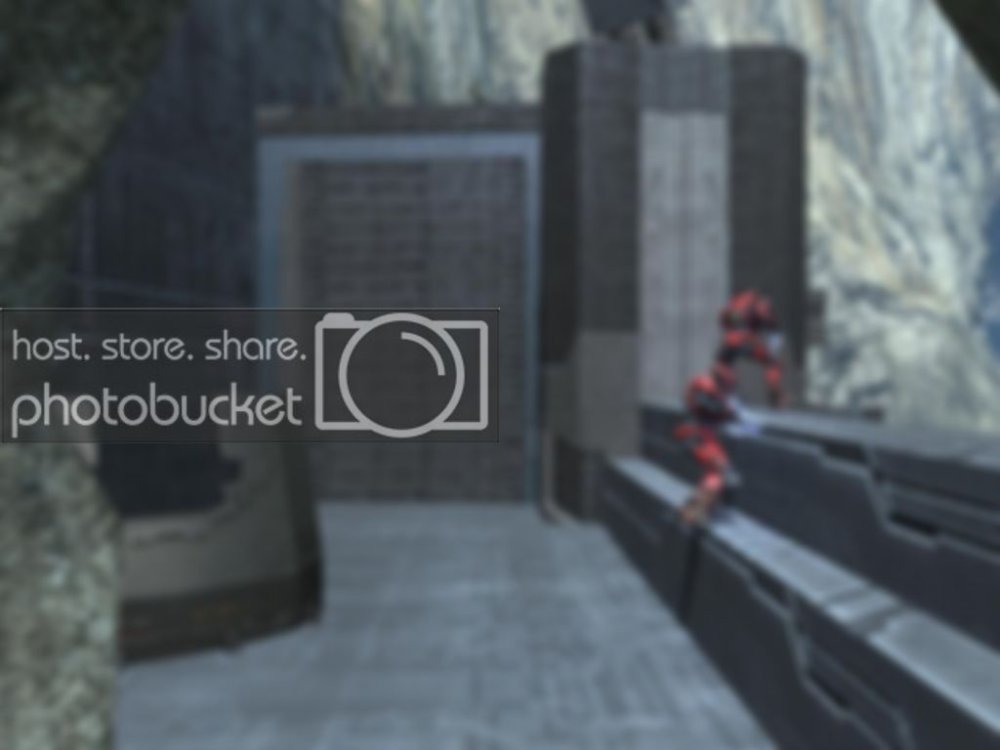
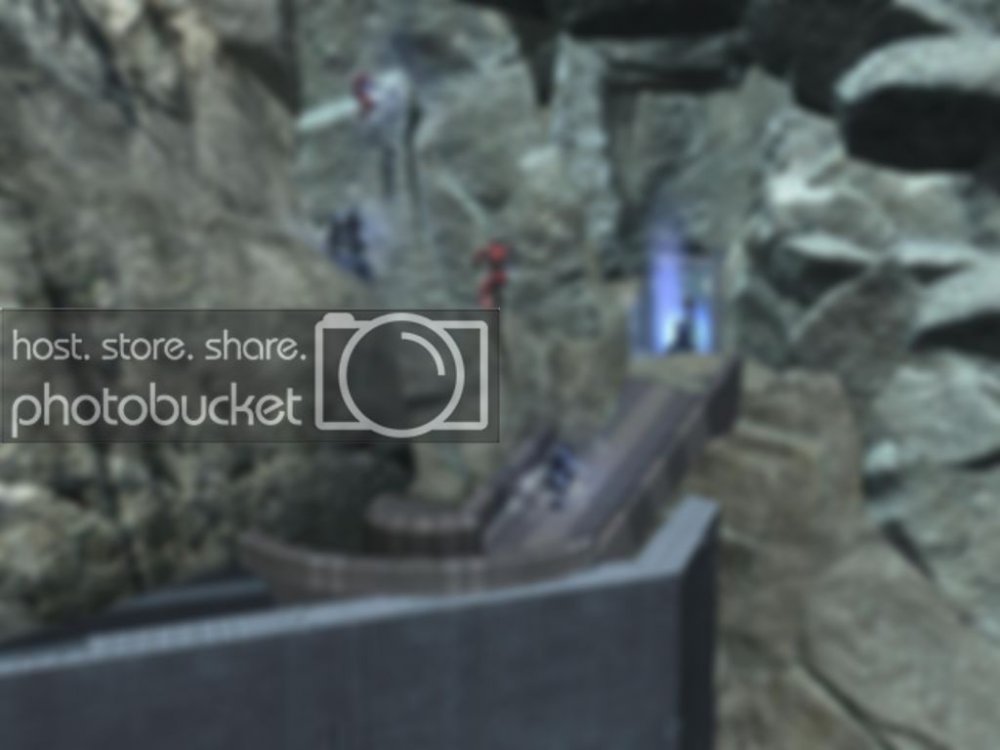
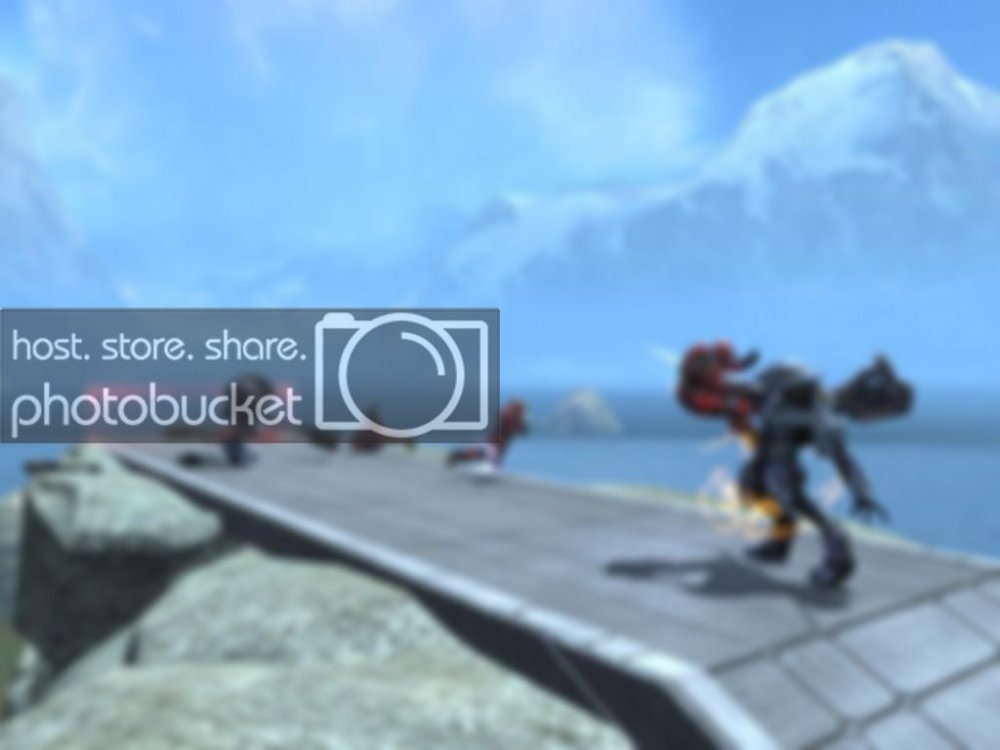
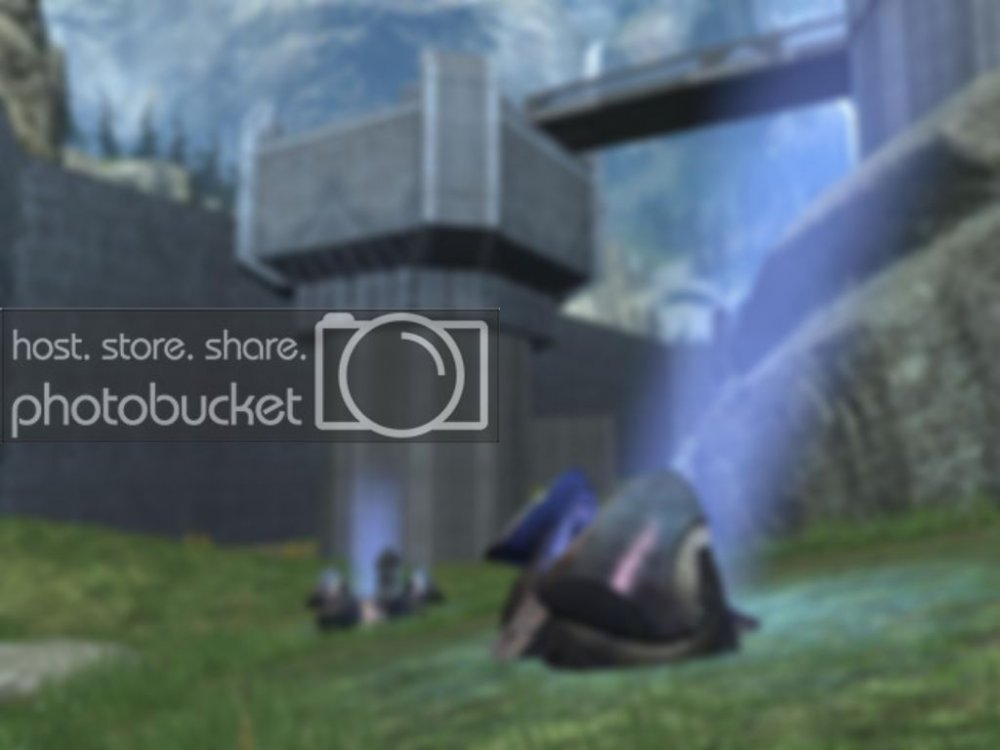
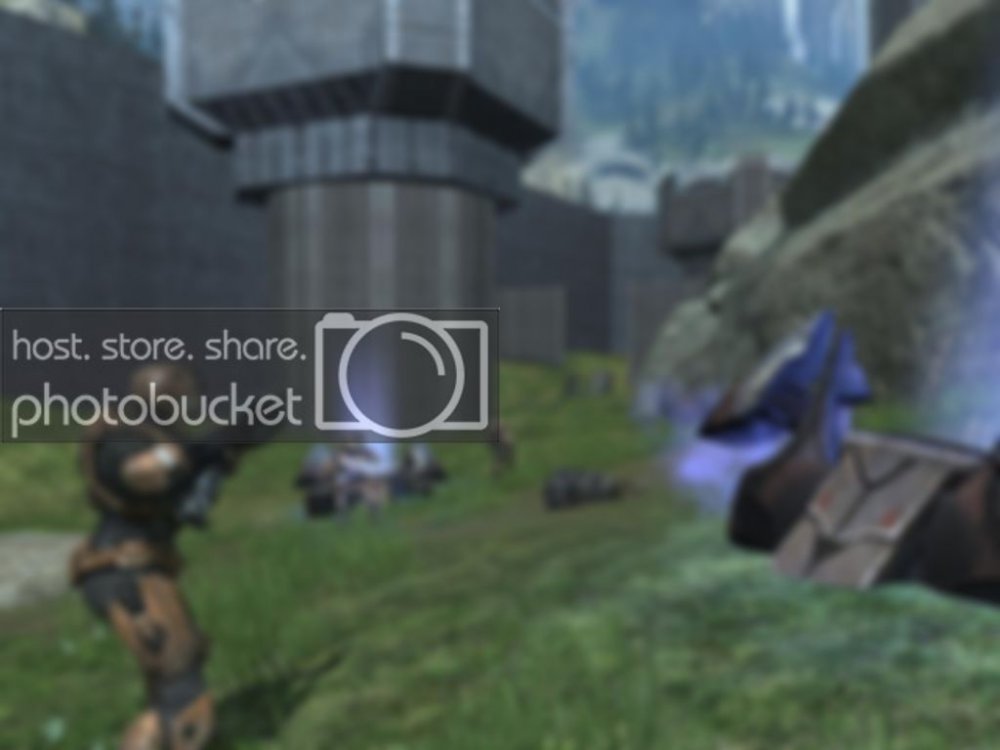
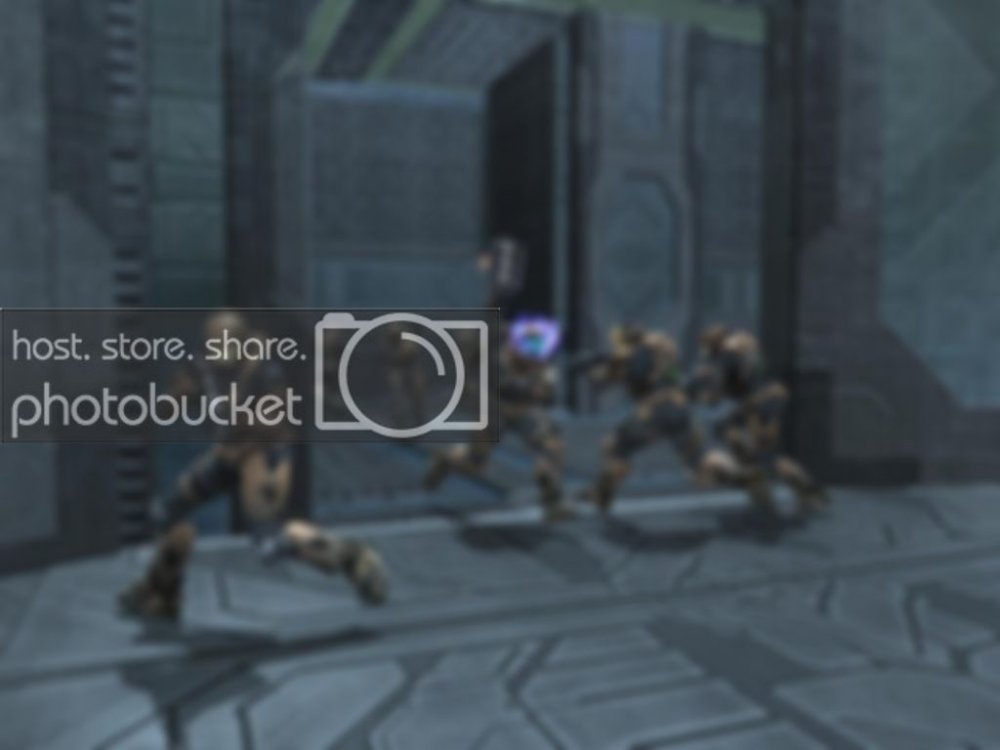
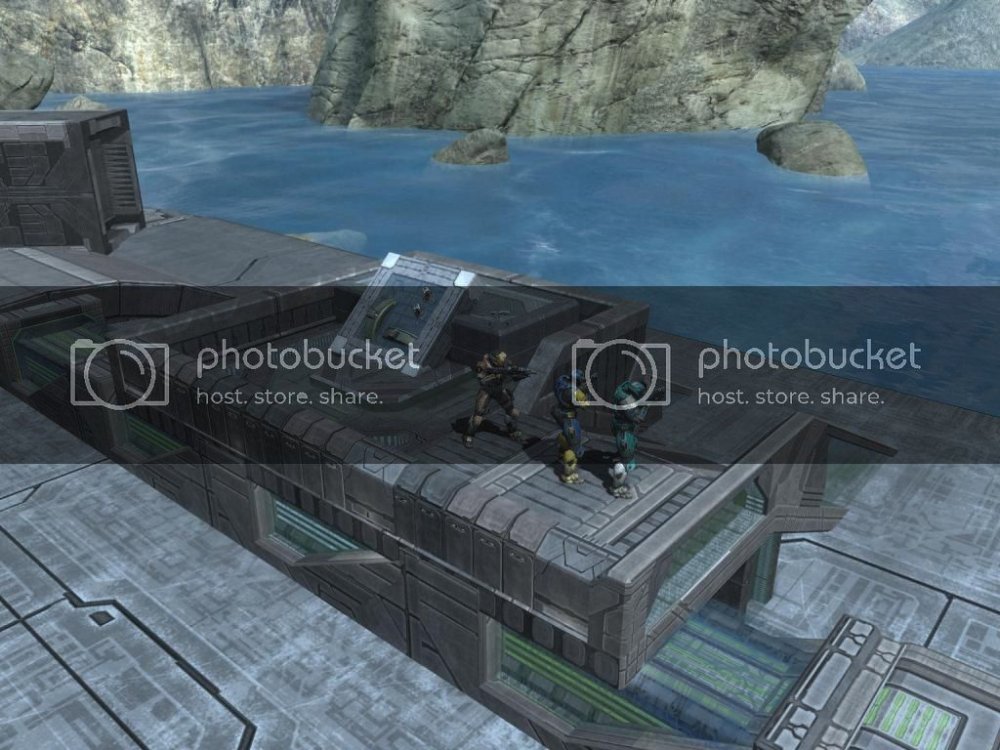
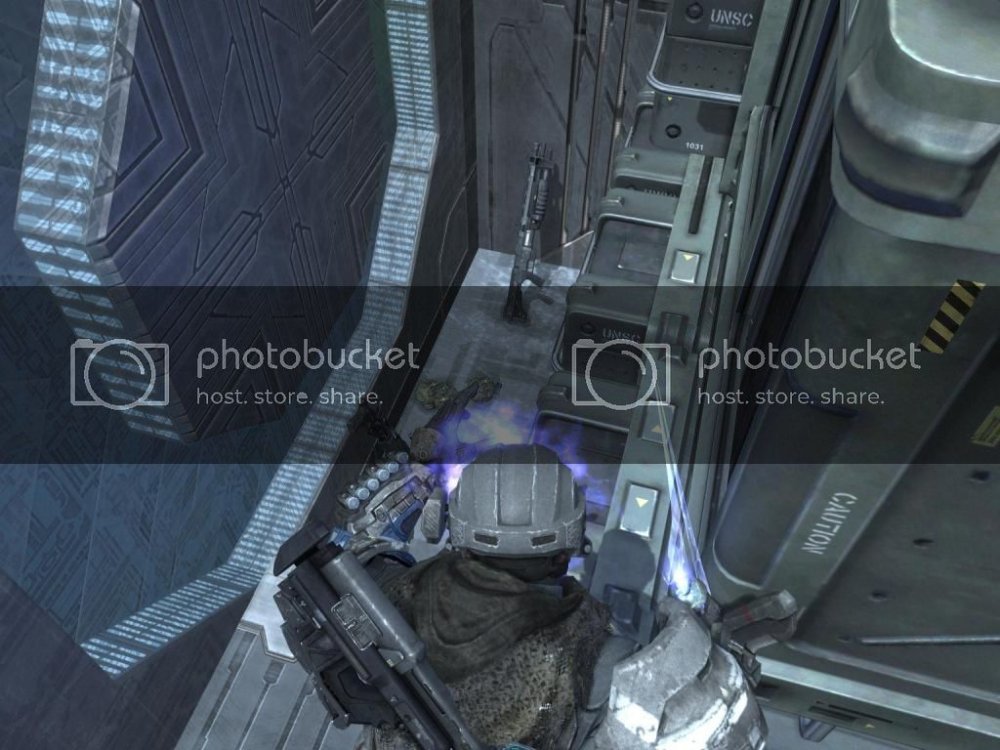
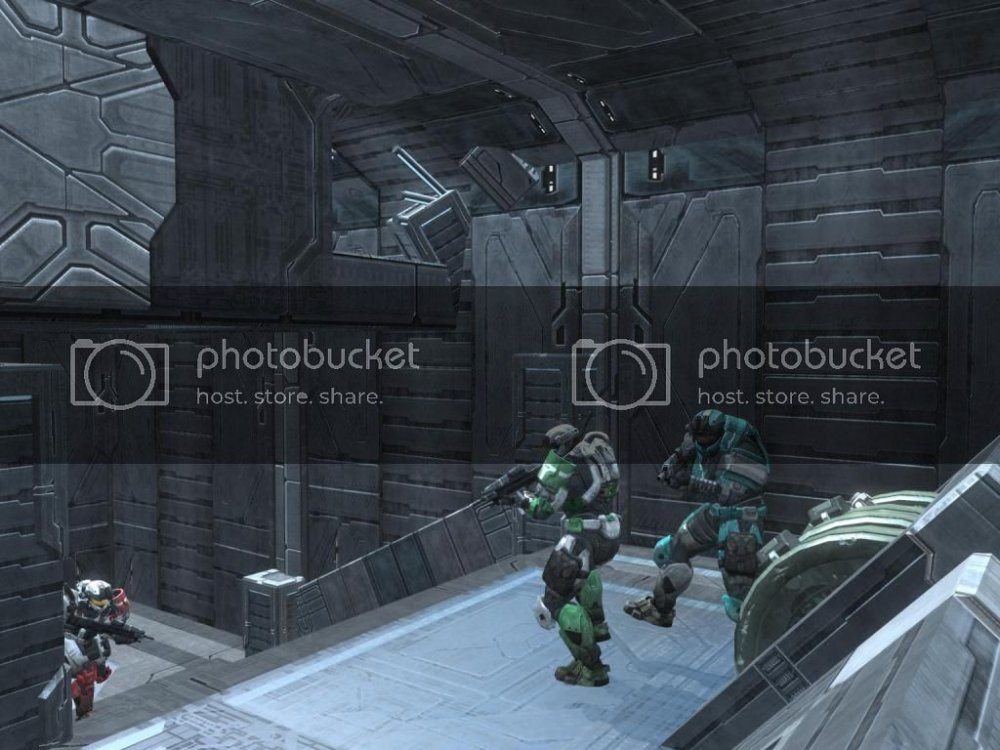
-My first phase takes place in the context of Assassin's Creed 1. In the year 1191, within the deserts of Syria, Altair Ibn-La'Ahad is sent after who I think was his fourth target, Abu'l Nuquod, also known as the Merchant King of Damascus. For any other fans of the series, perhaps you'll remember how the mission makes you walk into his palace, where he is seen on his balcony, addressing his crowd as they drink from a wine fountain. Soon after, the wine is revealed to be poison and chaos breaks out. In my map, the Elites represent Altair as they charge their way up the rather open plaza, with only the fountain and some pillars (certain ones broken) to work their way up. The defenders (Abu'l Nuqoud's Bodyguards) are on three separate balconies, giving them each different angles to attack. The center position has the widest angle, and the most direct, however they cannot see directly below them. Therefore, the task of knocking people out of the capture zone falls to the players in the angled balconies, who can fire into that area.
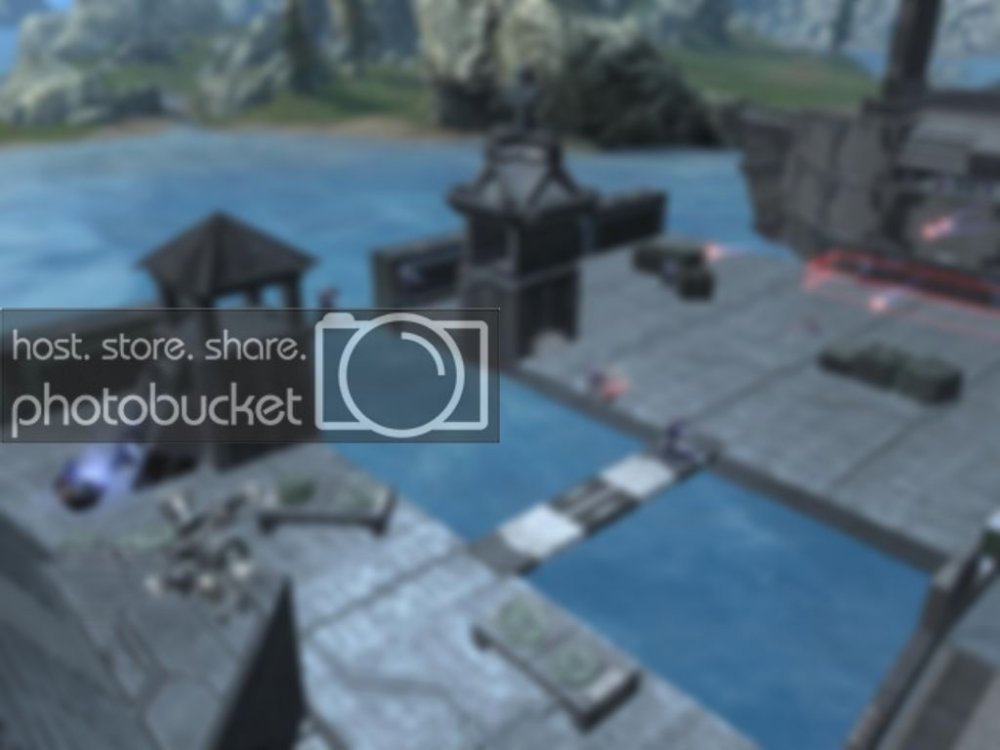
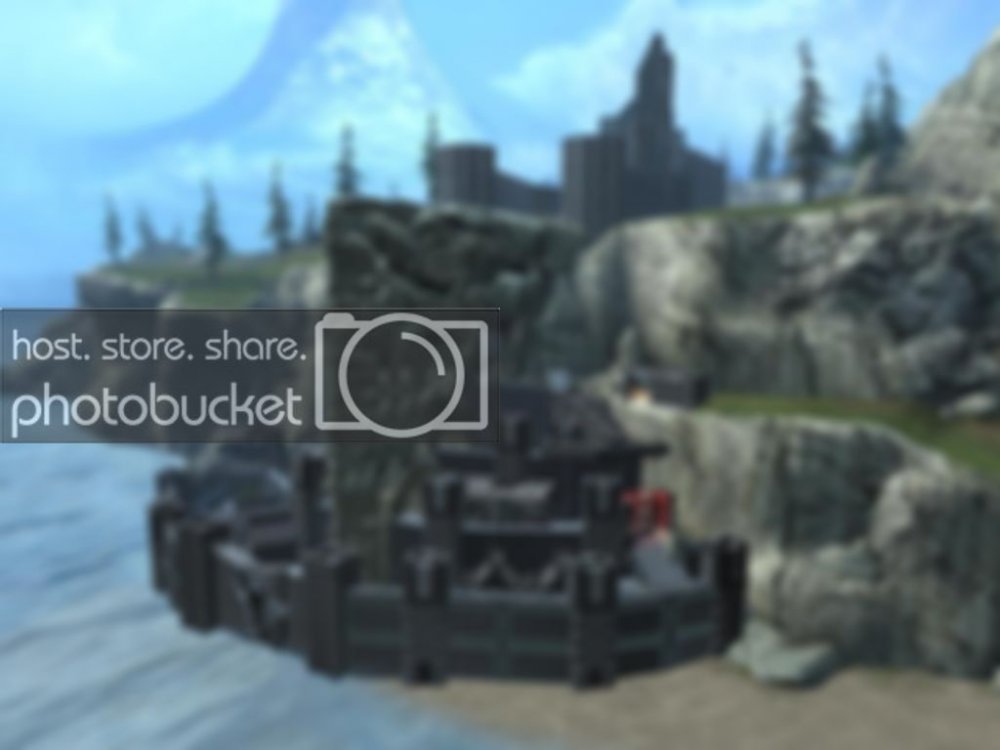
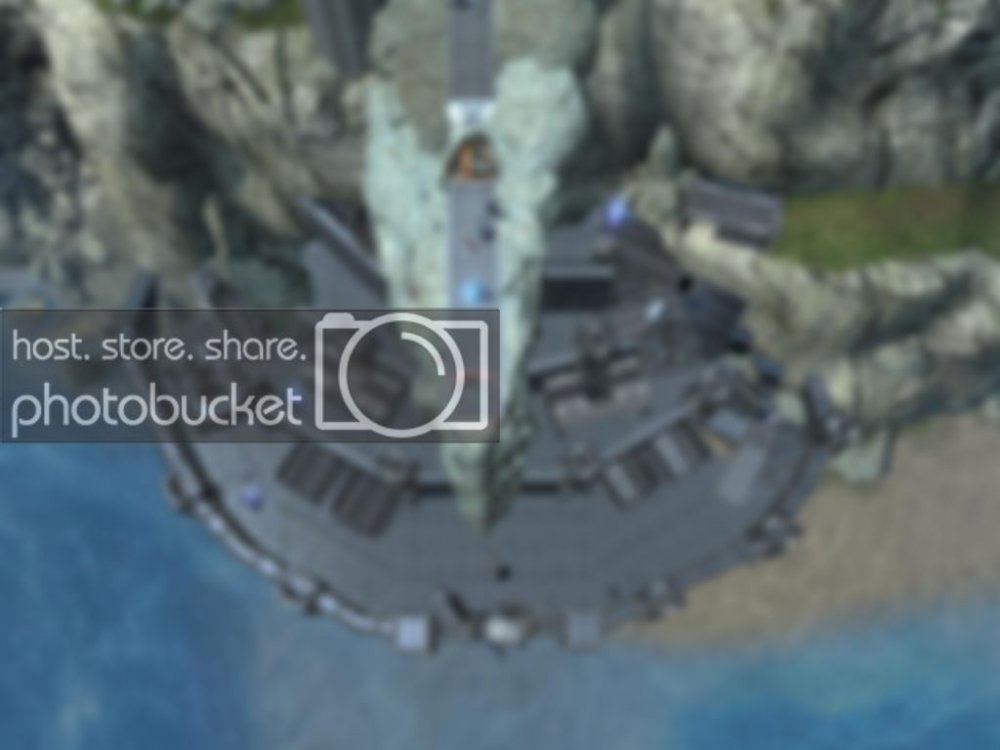
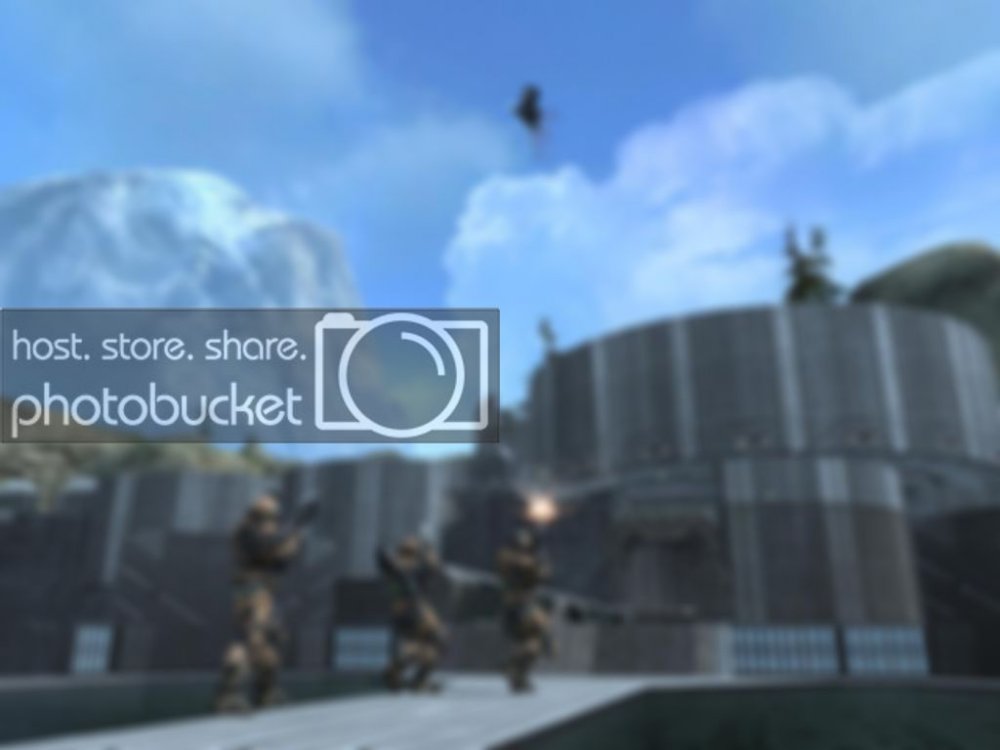
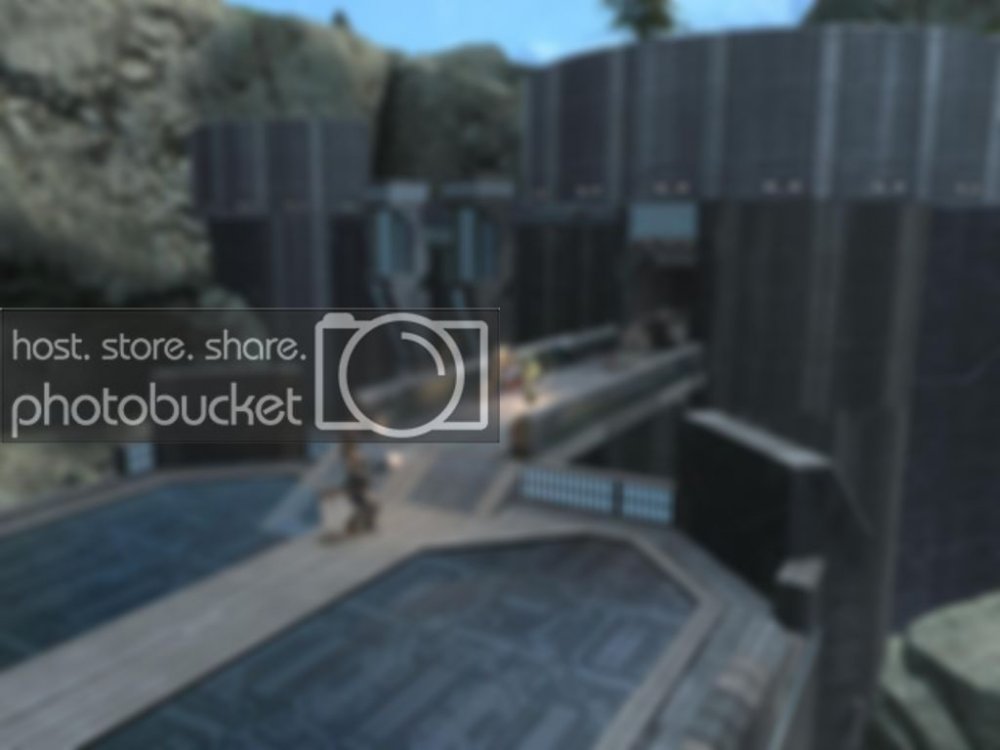
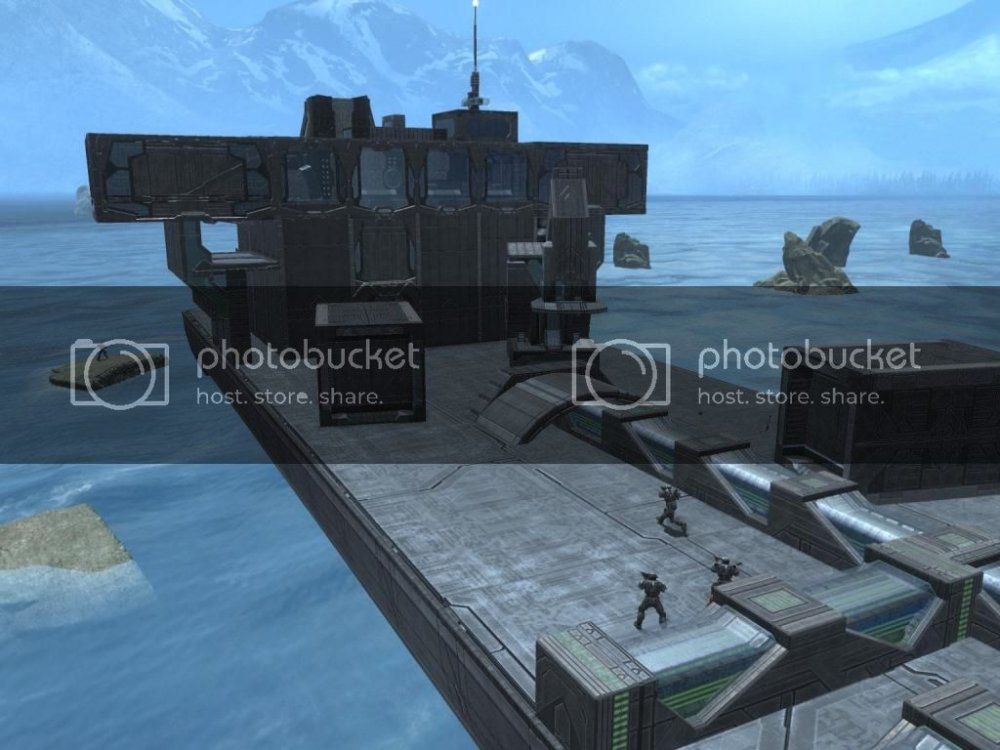
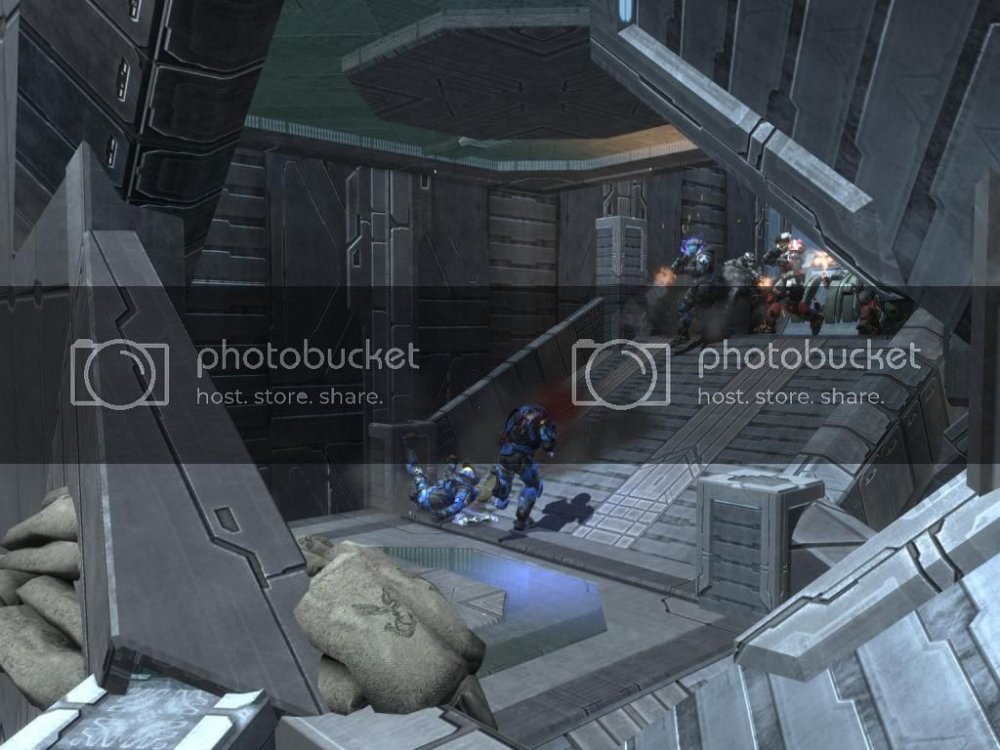
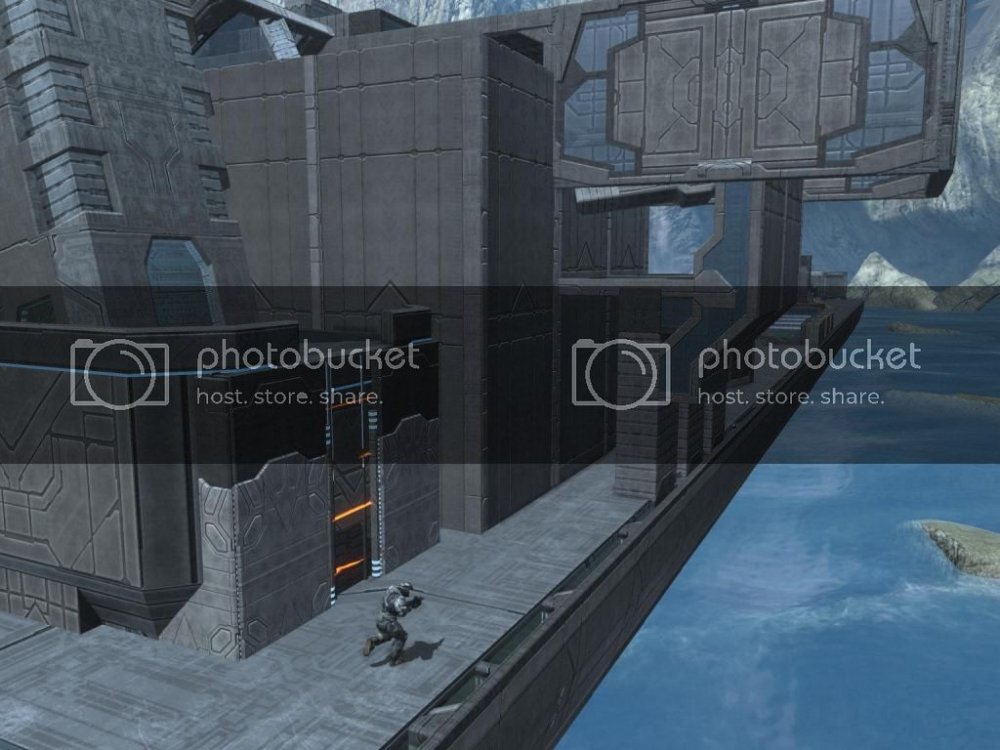
-My second phase takes place in the context of Assassin's Creed 2. In the year 1486, on the docks of Venice, Italy, following the events of Il Carnevale, Ezio Auditore da Firenze begins his march towards Marco Barbarigo, the Doge of Venice. I had to change quite a few aspects of this map to make it more playable, but the theme remains. As in the game, Marco and his bodyguards (defenders) are found on a Venetian Warship, at the back of the docks. The Elites (attackers) represent Ezio, as they must push forward. This is the hardest phase because the players must cross a canal, which will kill them if they fall inside. They have three options, either they climb a ladder to a tower and cross a clothes-line (fasted way - but easy to be knocked off of), they may cross a plank of woof (a little further - but wider than the clothes-line), or they can use the large bridge (farthest away - offers the best cover). Once they get past the canal, players can use crates as cover to protect themselves as they try to take the ship. Defenders are all grouped together here are placed where the cannons would be found in a warship.
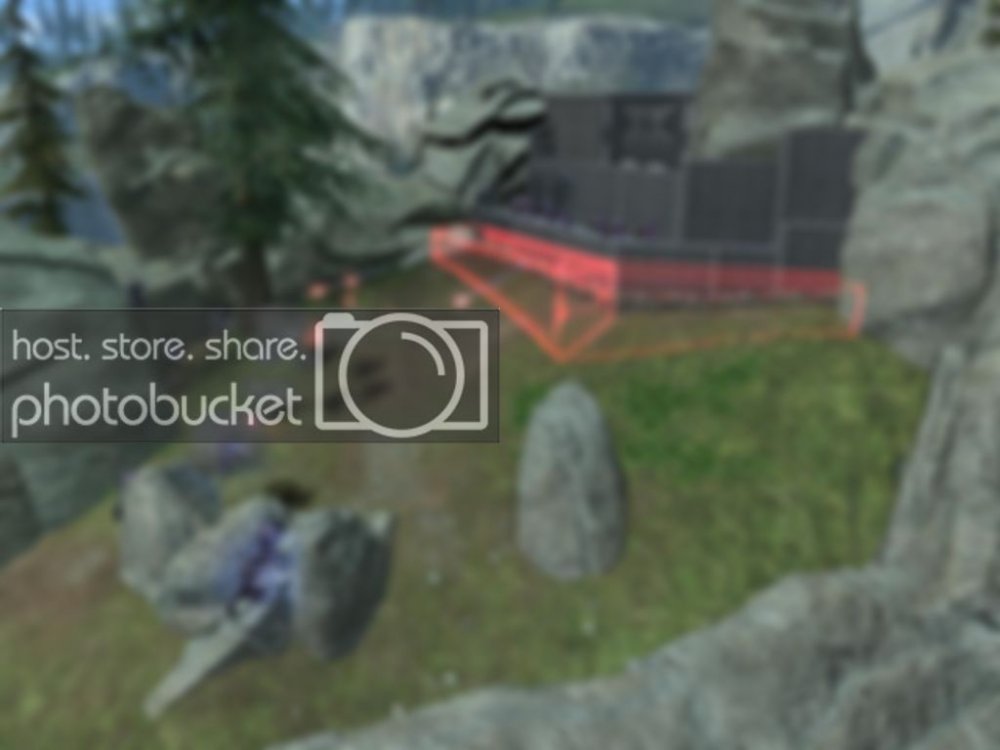
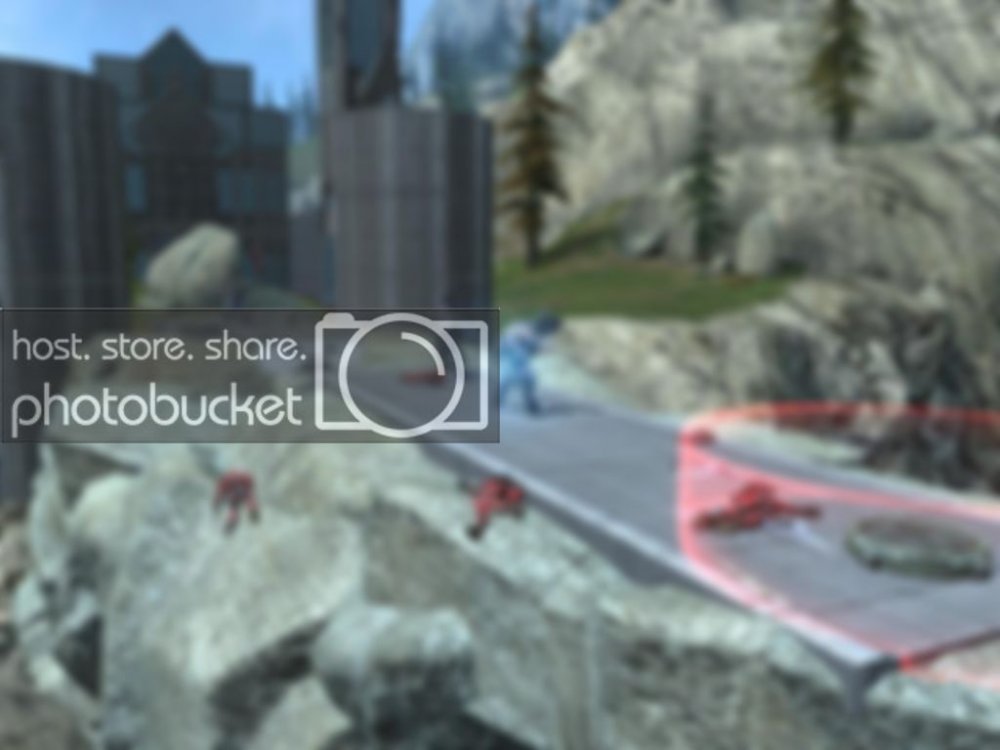
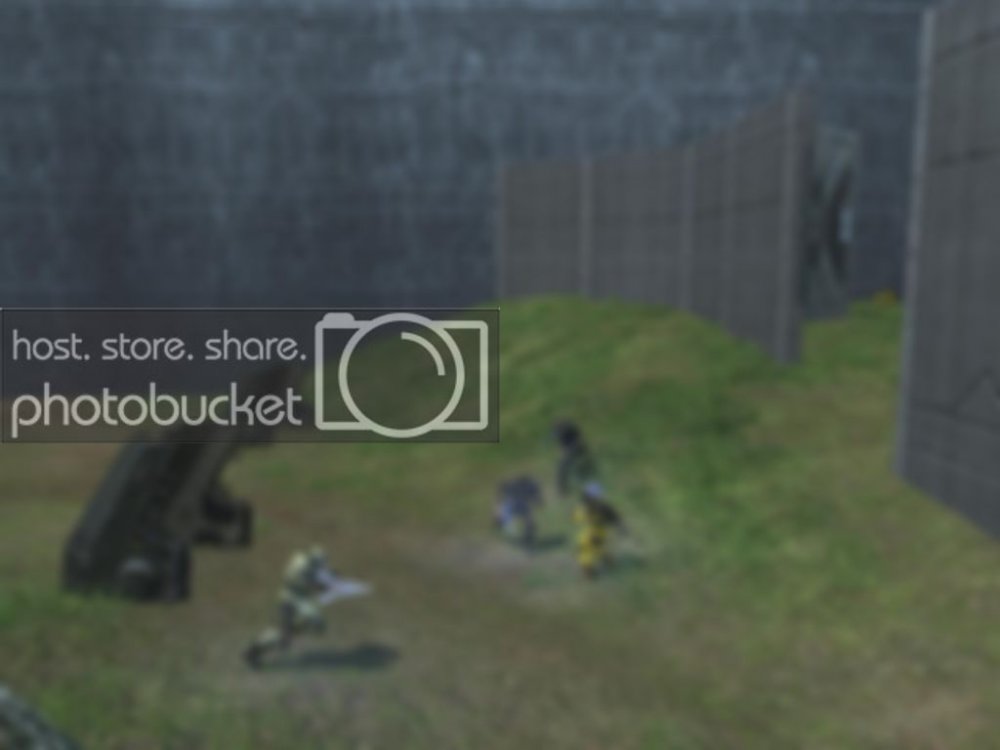
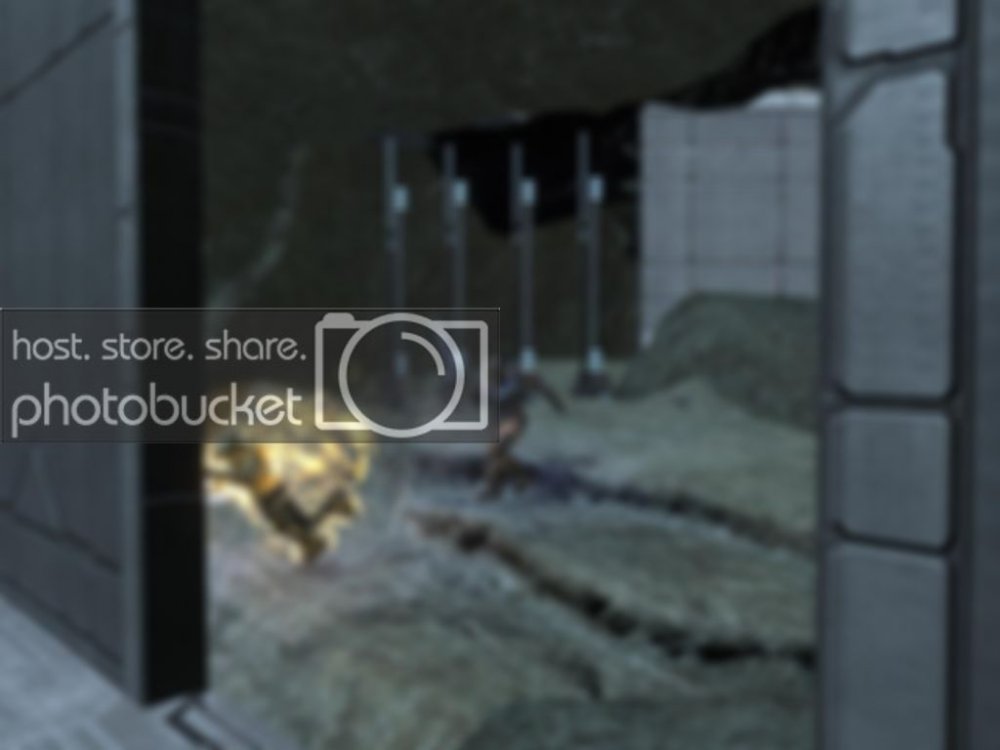
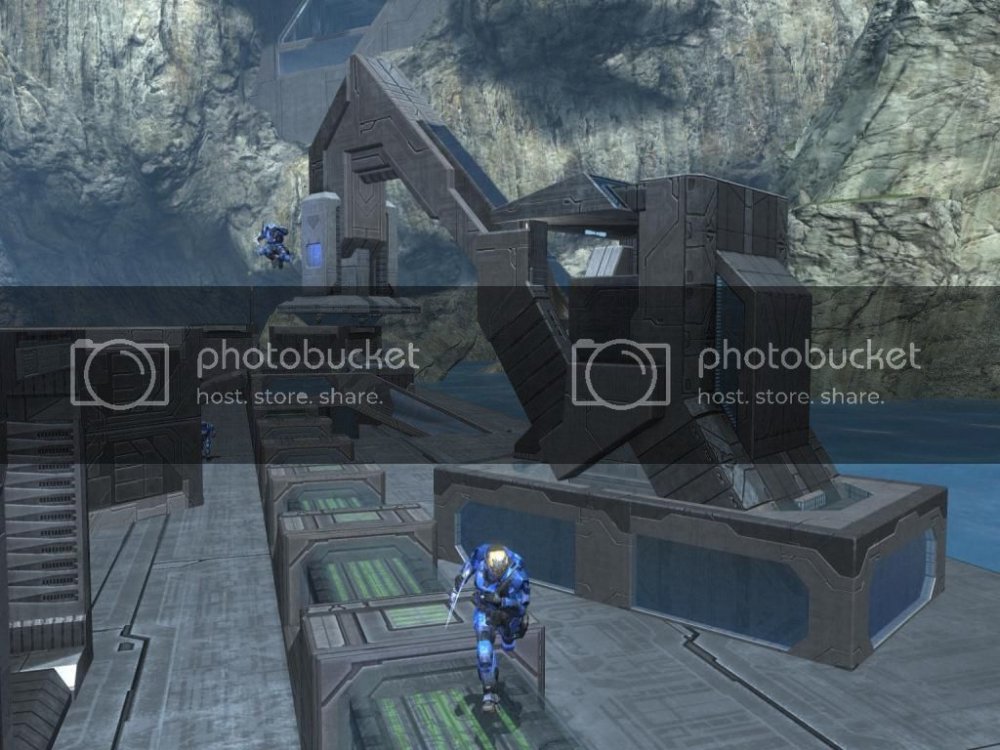
-My third, and final phase, is in the context of the upcoming game, Assassin's Creed 3. In the year 1775, within the wilds of the frontier, near Bunker Hill, in the land that will eventually be known as the United-States, Connor Kenway, under the orders of General Israel Putnam, is sent to kill the British marine John Pitcairn. The defenders (British forces) are held up in a bunker, uphill from the defenders (Americans) position. The Elites spawn near a few graves and the fallen flag of the Thirteen Colonies, while the Spartans fire from their flag-adorned bunker, with a limited view of the attackers. The attackers may use a cave, two hill pathways or a small rock formation to move up, while the defenders must use communication to hold them at bay. I know this game has yet to come out, but I tried to give the natural feel the trailers portrayed when I built this map.
The gametype ([PB] Purple Bunker):
As I've said before, the gametype is not my own, but I feel it my duty to explain it, should there be any players who have not heard of this before. The original version of Purple Bunker was created by Mr Pokephile on Halo 3, however, it was with the help of Oakley Hidef that it was adapted and brought over to Halo: Reach. The way it works is that in every scenario, the defenders (Spartans) are given Concussion Rifles and Needlers. They will always find themselves on an elevated structure and it is their job to push the Elites (attackers) who are invincible, away from the objective. On that topic, the objective is always territories. The Elites are forced to walk extremely slow, but as I've said, are invulnerable to damage. They have swords, but cannot use them. Their sole goal is to reach the territories and to hold them for what I believe is 5 seconds. Each phase lasts 2 minutes, so a full round will never go over 6 minutes, therefore a full game cannot be more than 12 minutes. With that all explained, I'll give you guys an average on how long it took to finish each of my phases:
Phase #1 (Damascus): 1:00 minute - 1:20 minutes
Phase #2 (Venice): 1:30 minutes - 1:58 minutes
Phase #3 (Bunker Hill): 1:00 minute - 1:30 minutes
Screenshots:
Finally, onto the pictures. I apologise for the length of my text, but I just love to write on the forums and share all the information I can about my maps.
PHASE #1 (DAMASCUS):

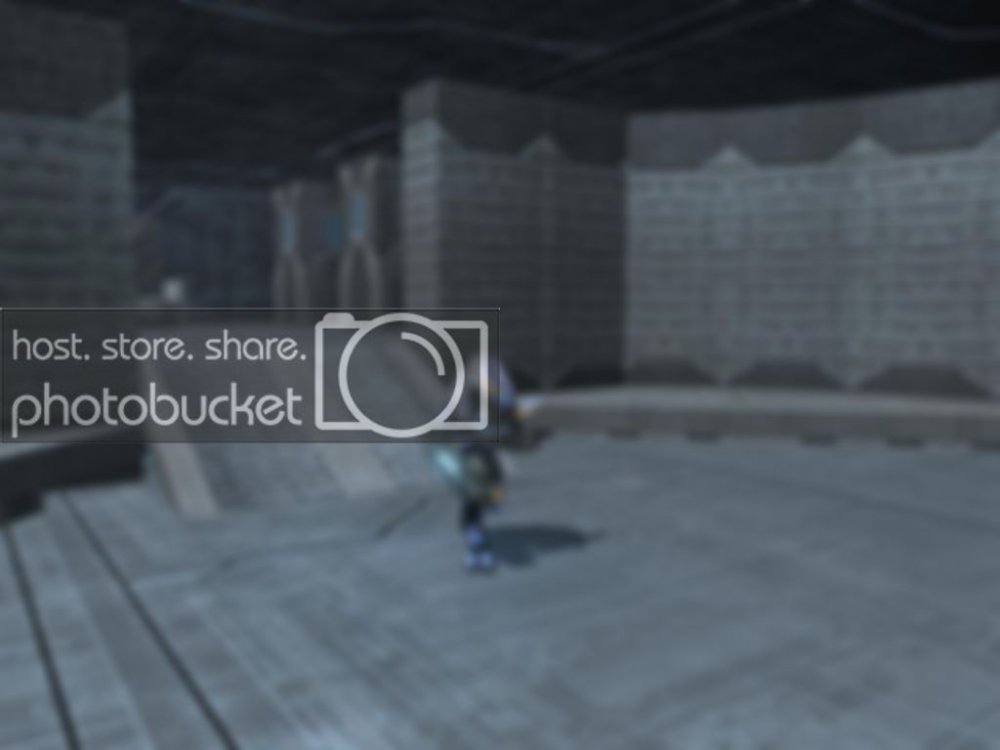
Here is the view from the Elites' initial spawn. I tried to come up with one original construct for each phase, so for this one, it was the muslim-architecture tower with the pointed top.
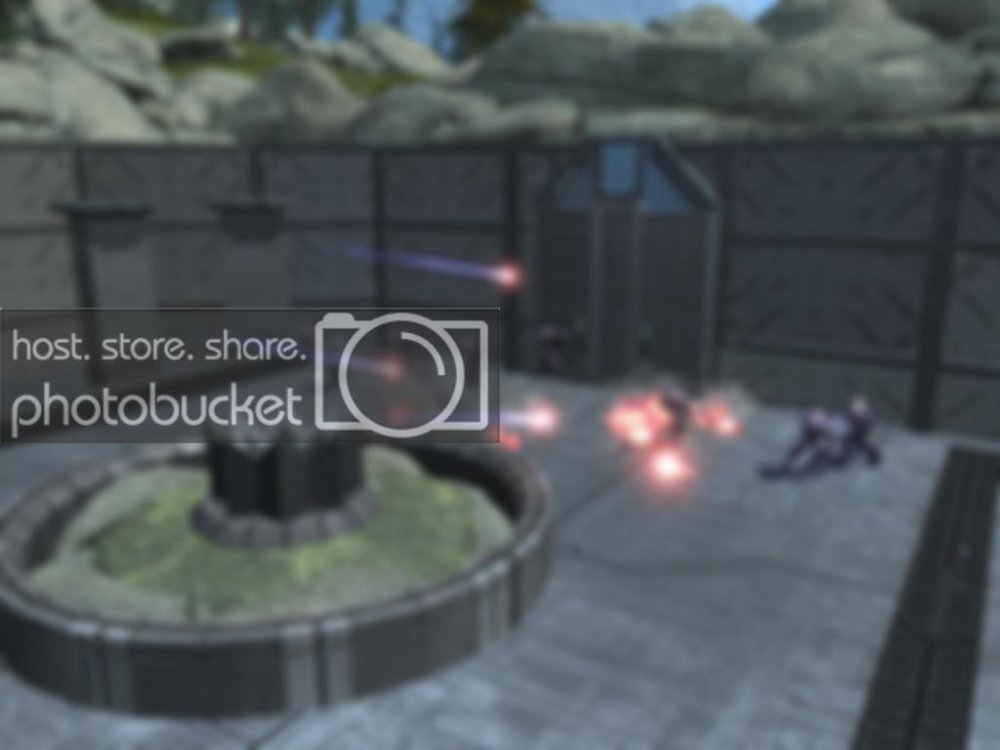
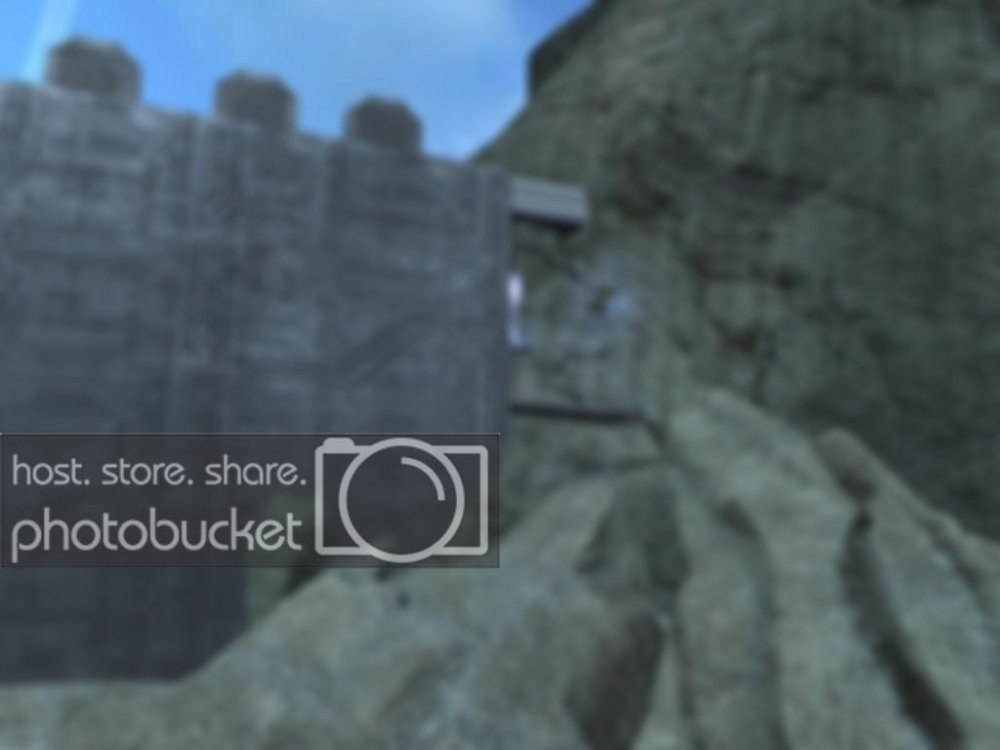
Here we can see the small garden-adorned fountain along with the large entry-gate, which was shut when the killing began.
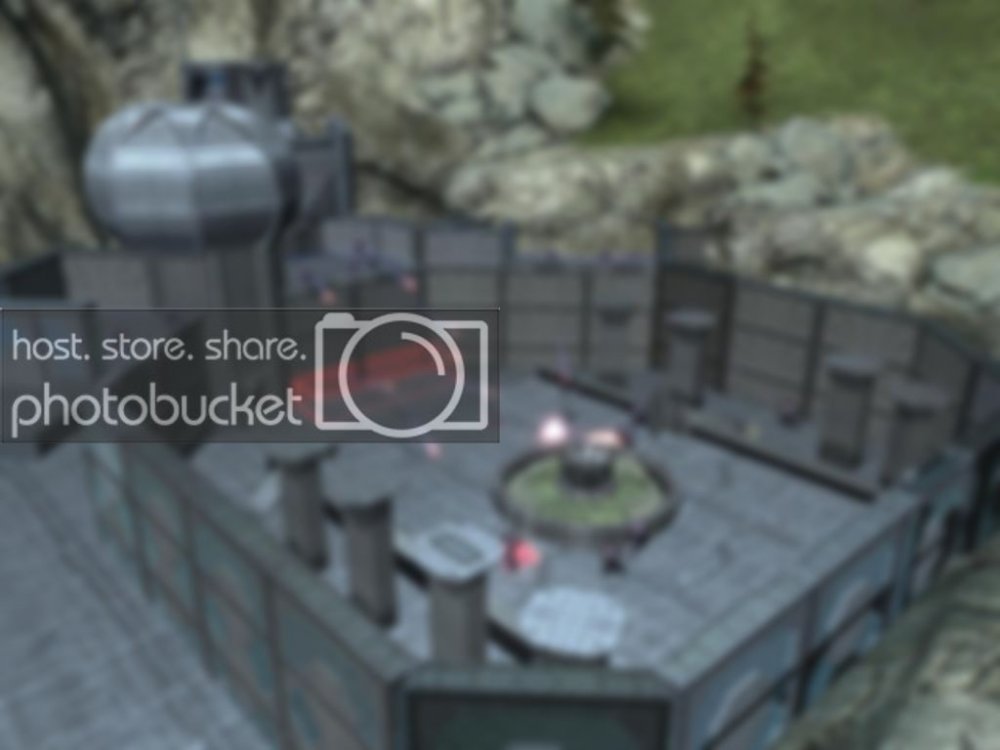
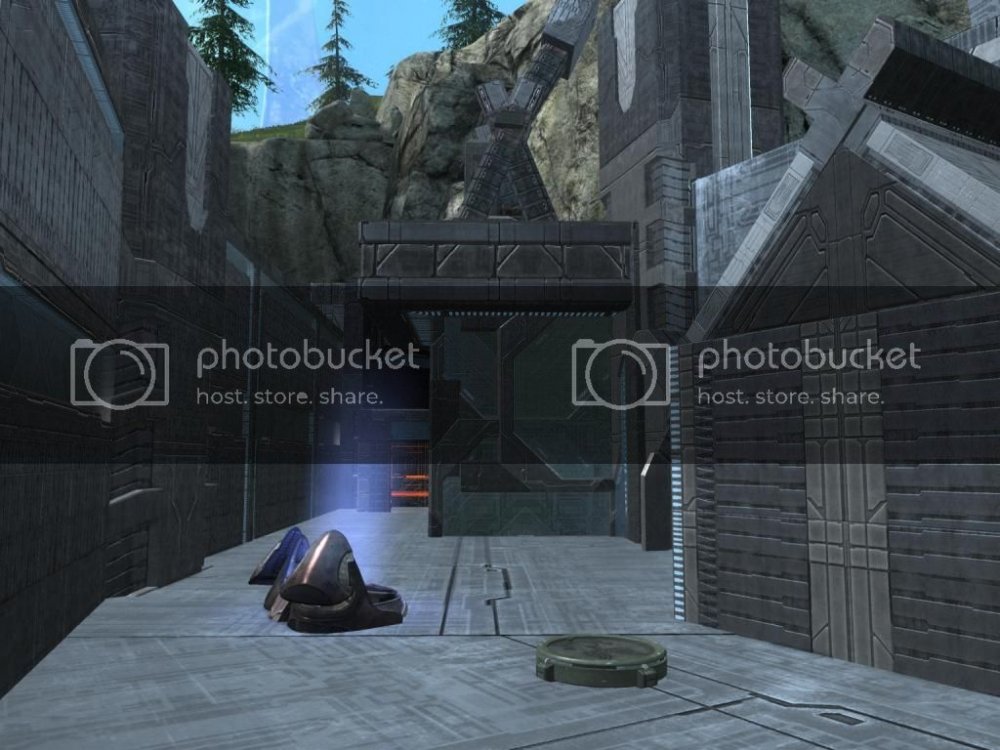
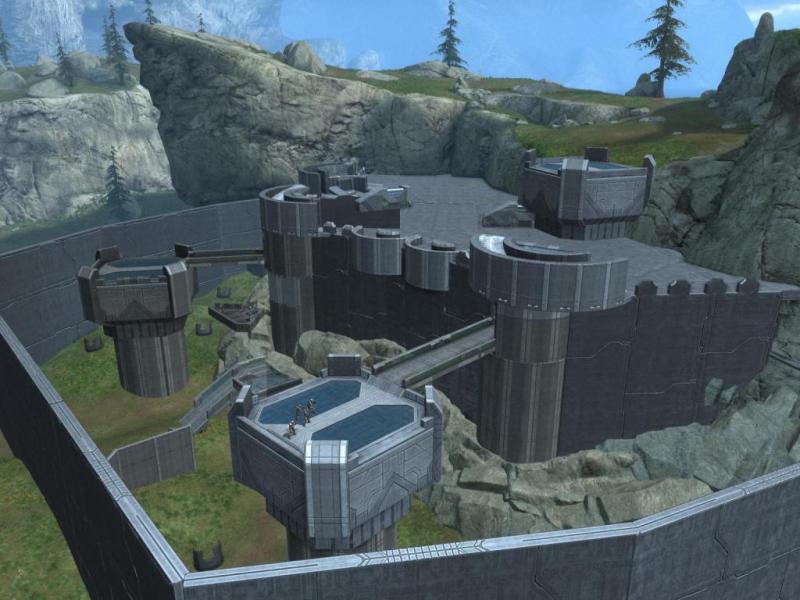
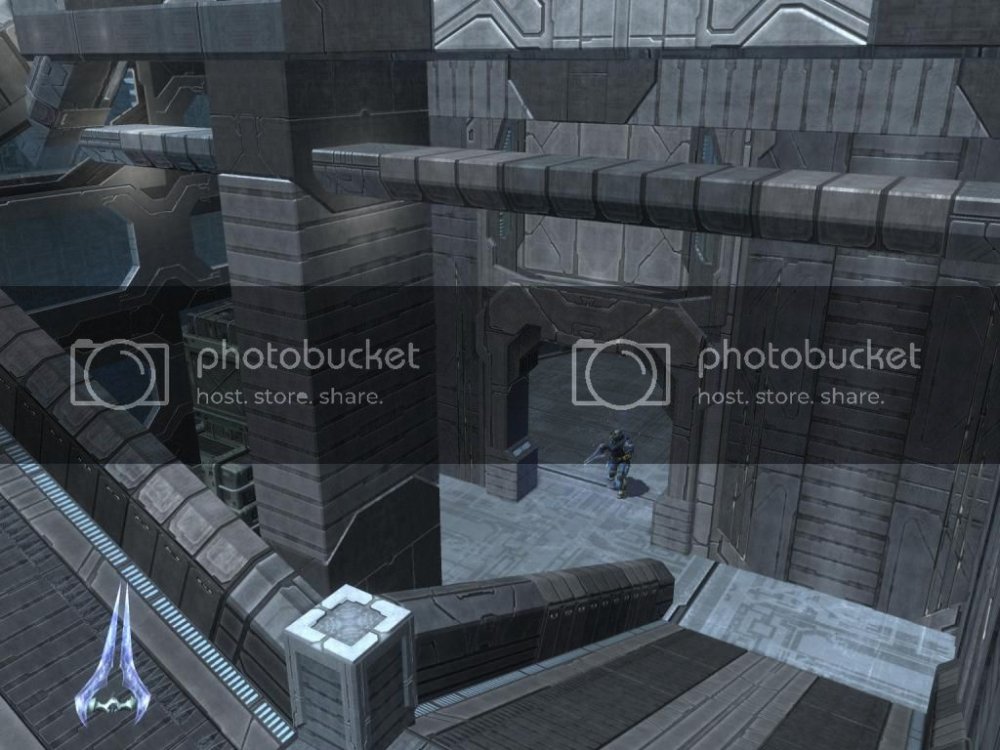
This is a small overview of this phase - do not pay attention to the pieces sticking out from the side, players do not see them from their points of view.
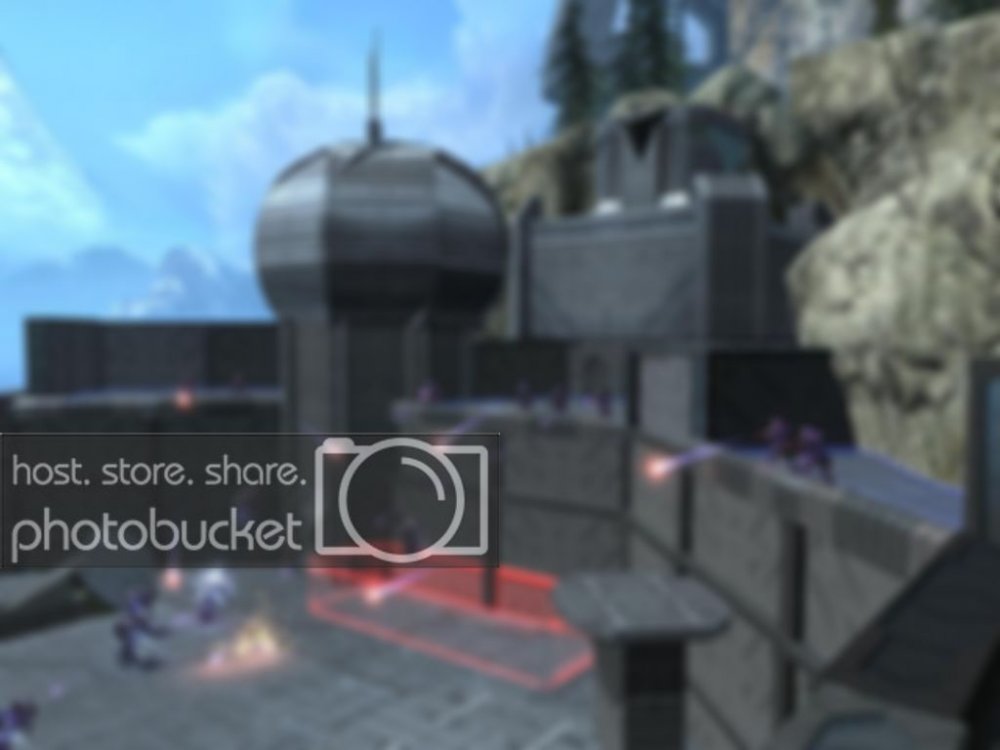
The triple position of the defenders offers them varied angles with which to attack. We also see in the back part of the Castle.
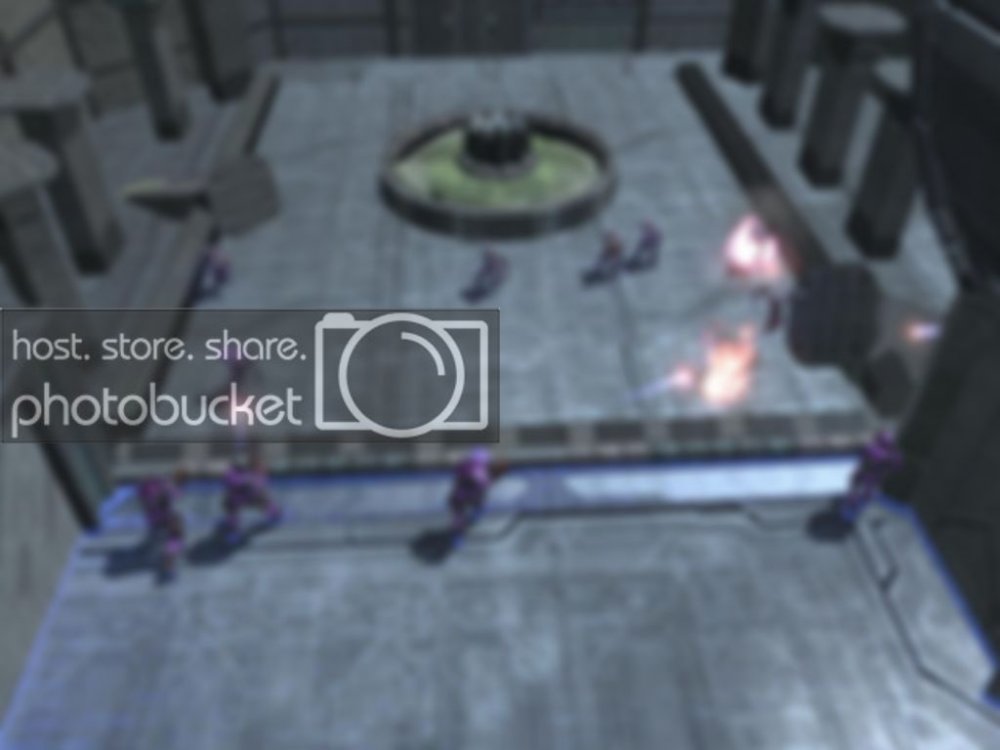
An angle from the central balcony.
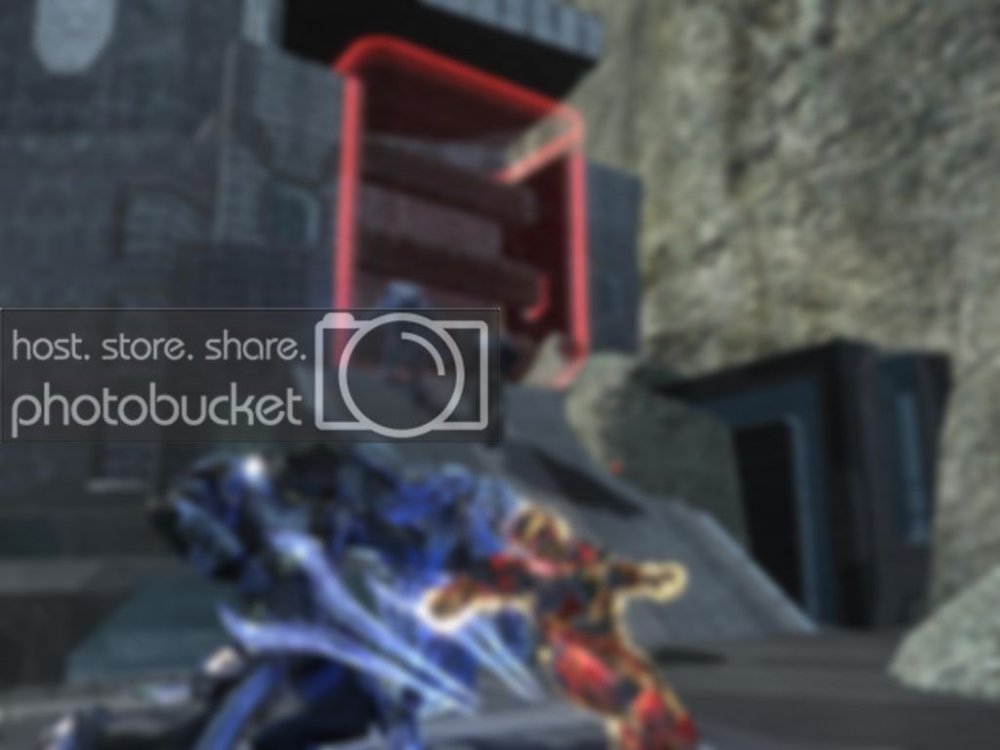
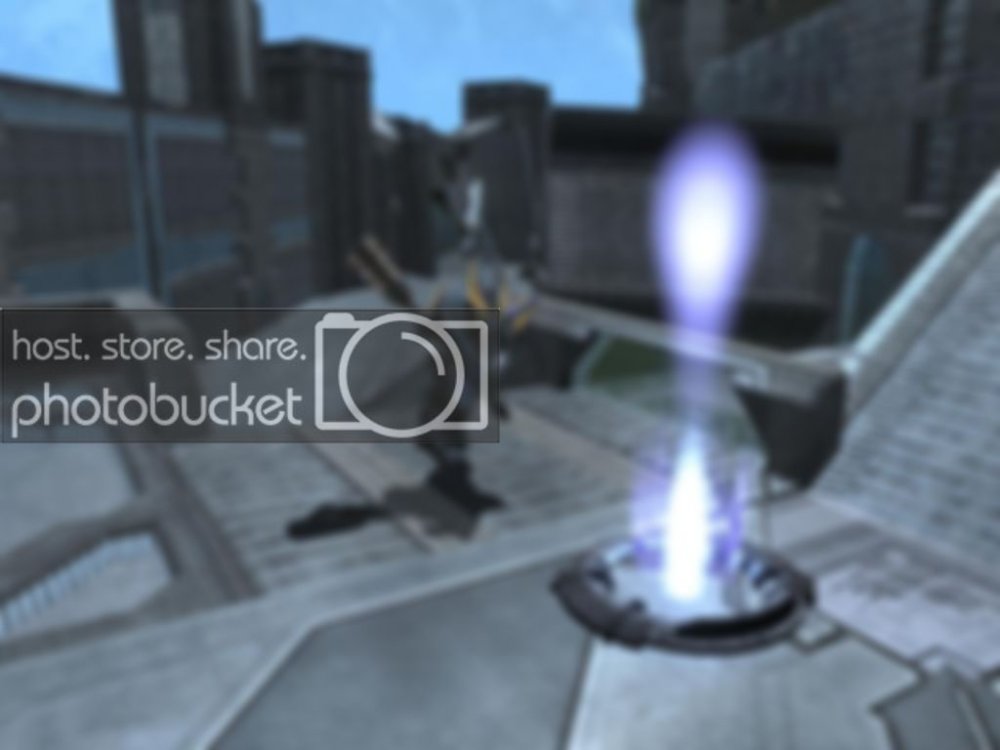
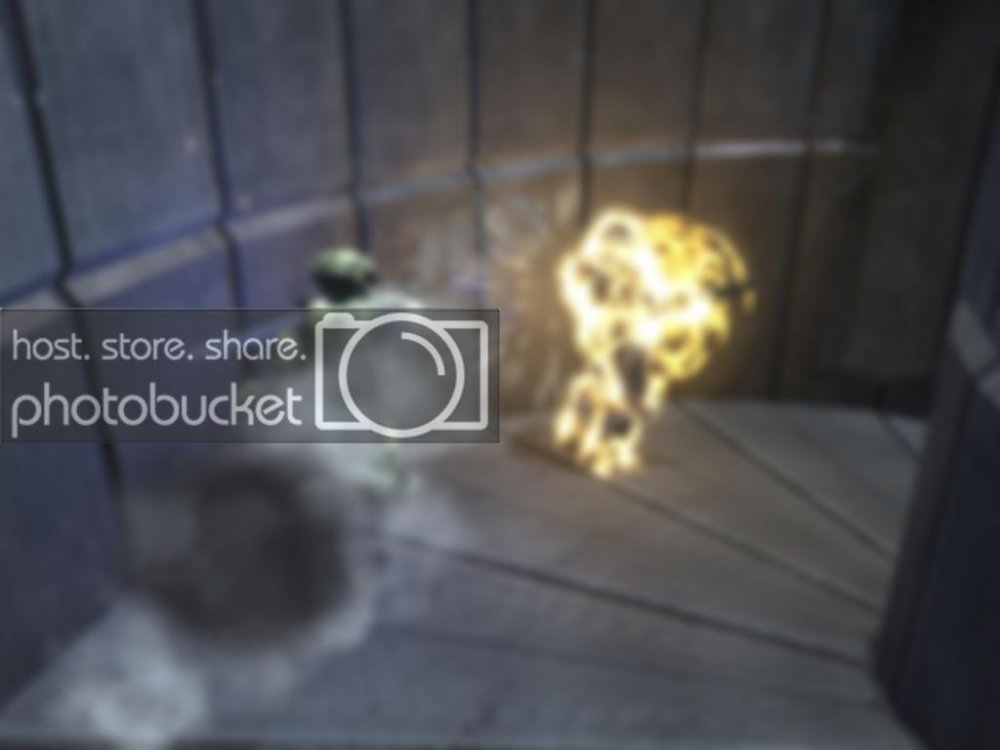
A stated above, I have an easter egg in each map. They are a small leap-of-faith area, with a custom built "eagle" on each one. The one on this phase is found at the top of the castle, overlooking the battle.
PHASE #2 (VENICE):
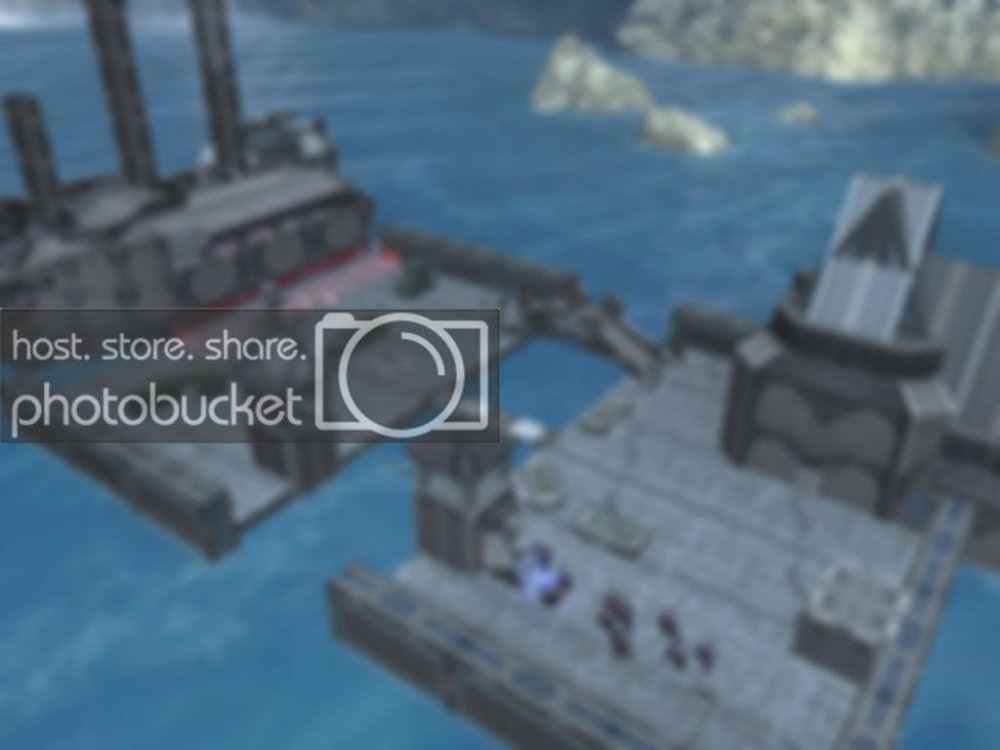
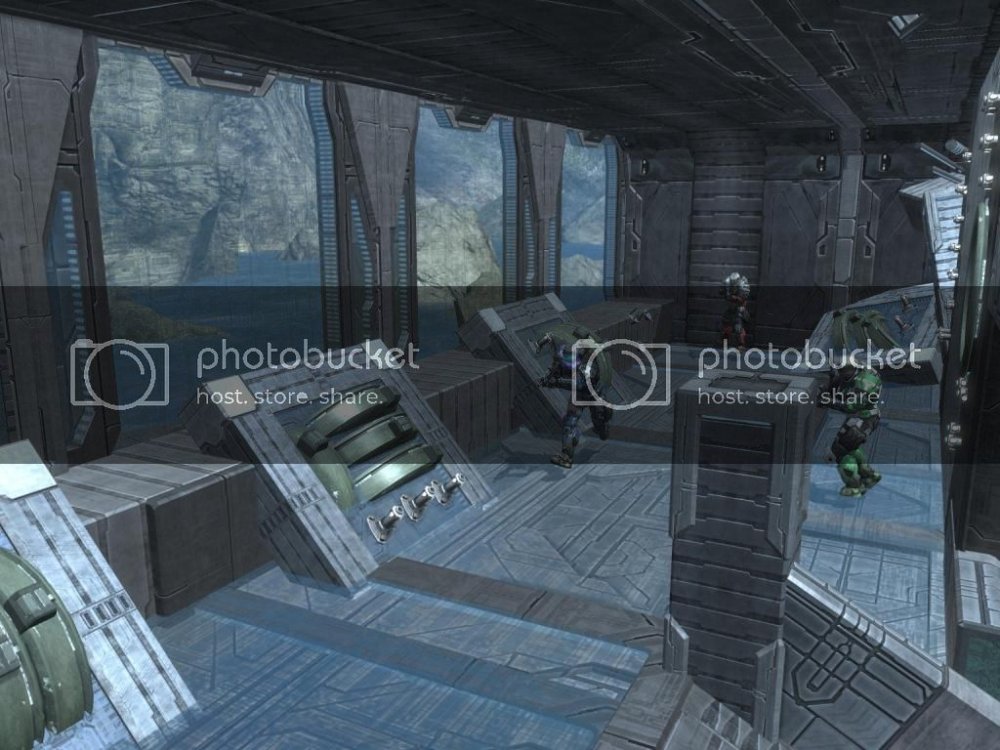
An overview of the Venice phase, the attackers spawning in the far back, while the defenders spawn inside the Warship.
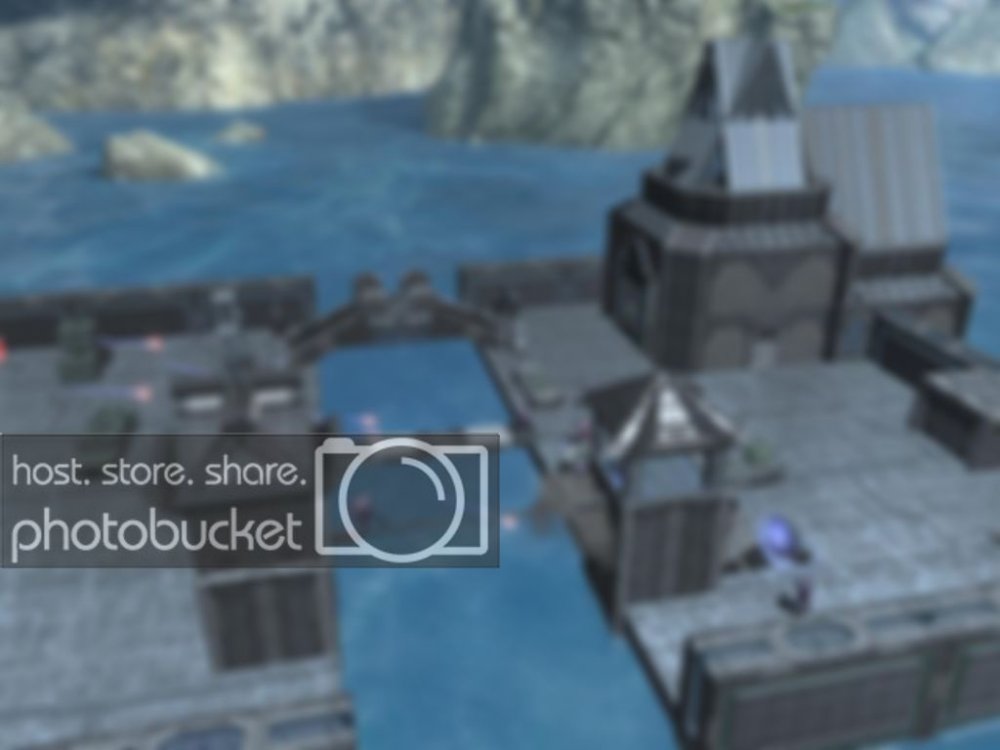
This angle shows the three different options to cross the canal, from closest to furthest they are: the clothes-line, the plank of wood and the bridge.

Another easter egg added was the Assassin's symbol, found on the side of the cathedral. It also has the small skull-switch that Ezio would pull, opening a man-hole beneath him and allowing him to enter the catacombs below. (purely aesthetic)
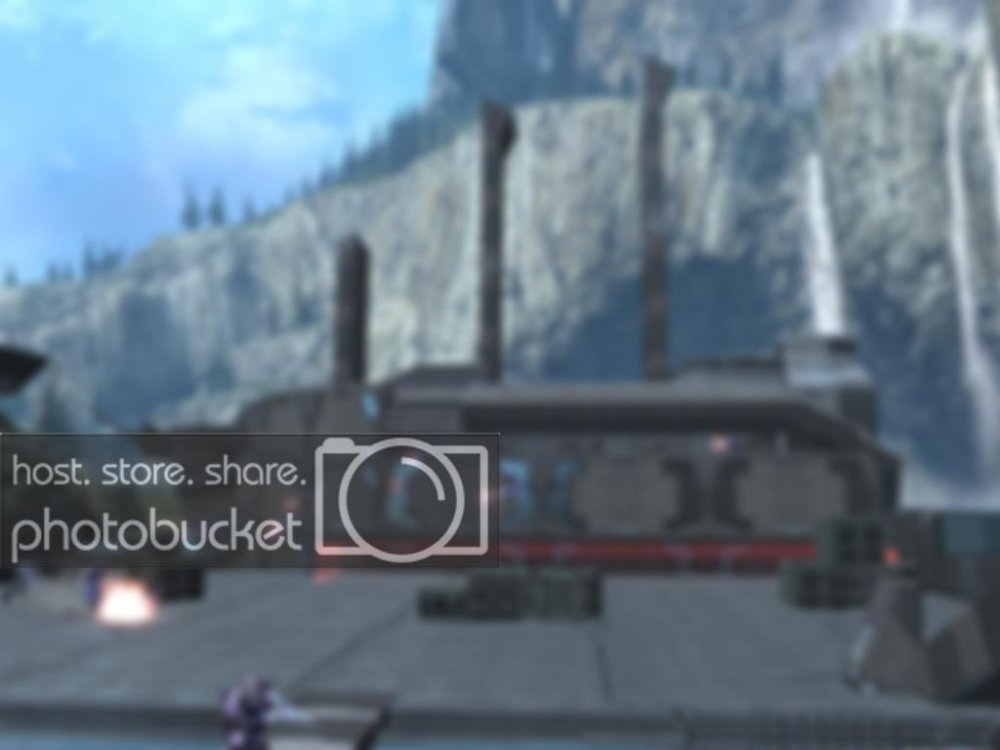
The Venetian Warship was my original construct for this map. I will admit, it was very hard to build.
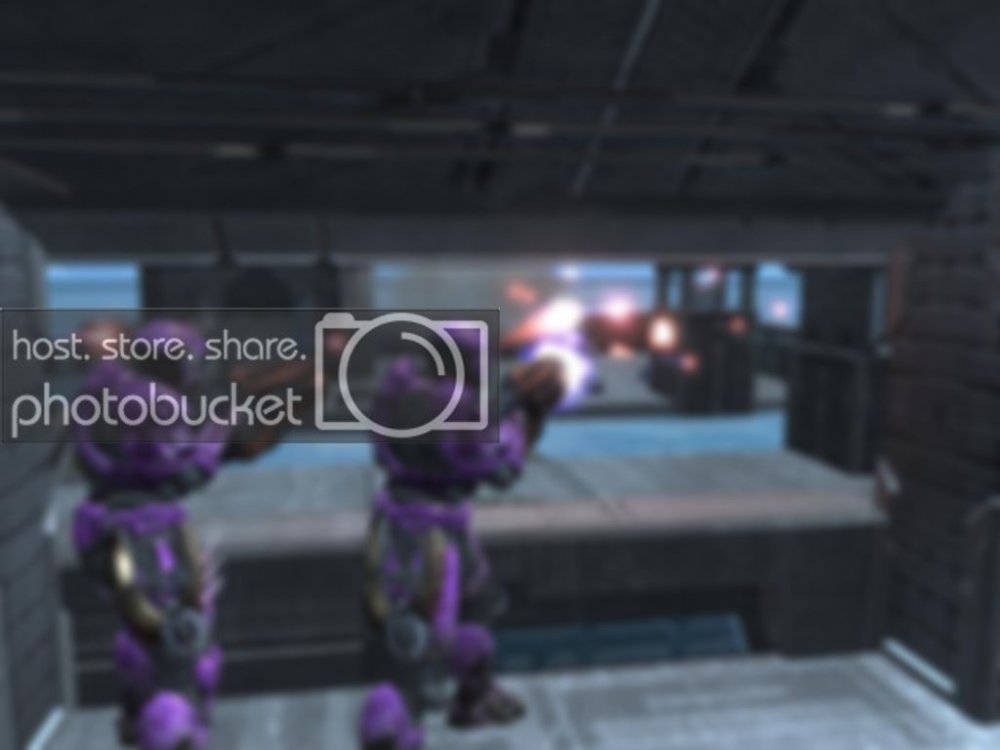
From within the defenders fire their shots like cannon-balls.
Once again we find an eagle overviewing the battle, but this time it is hidden on the Cathedral.
PHASE #3 (BUNKER HILL):
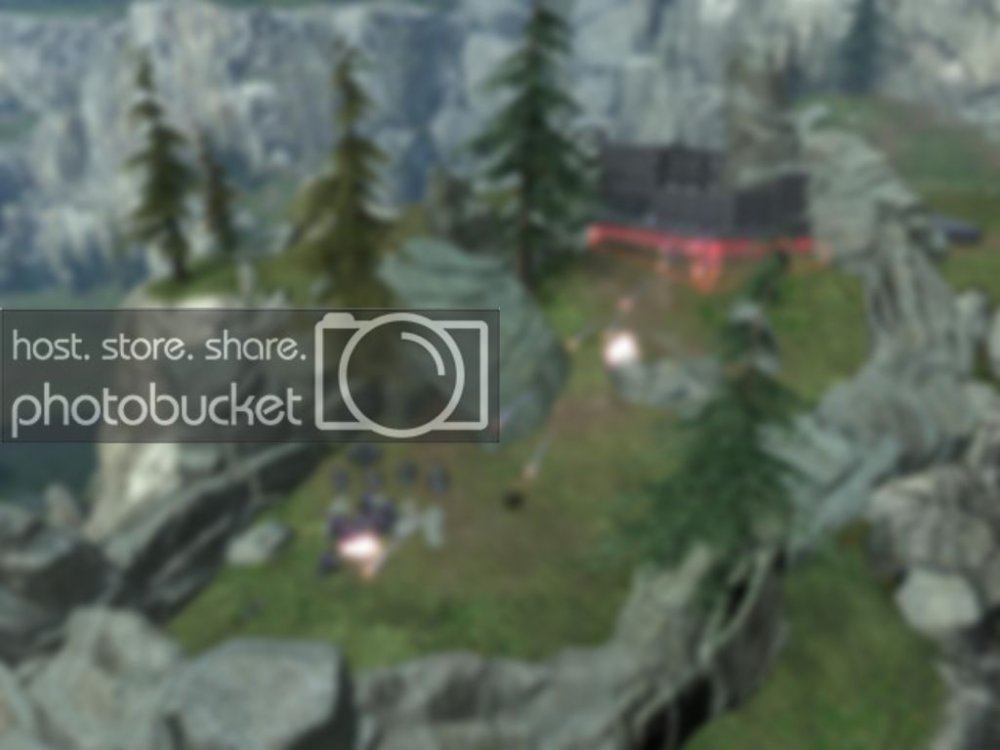
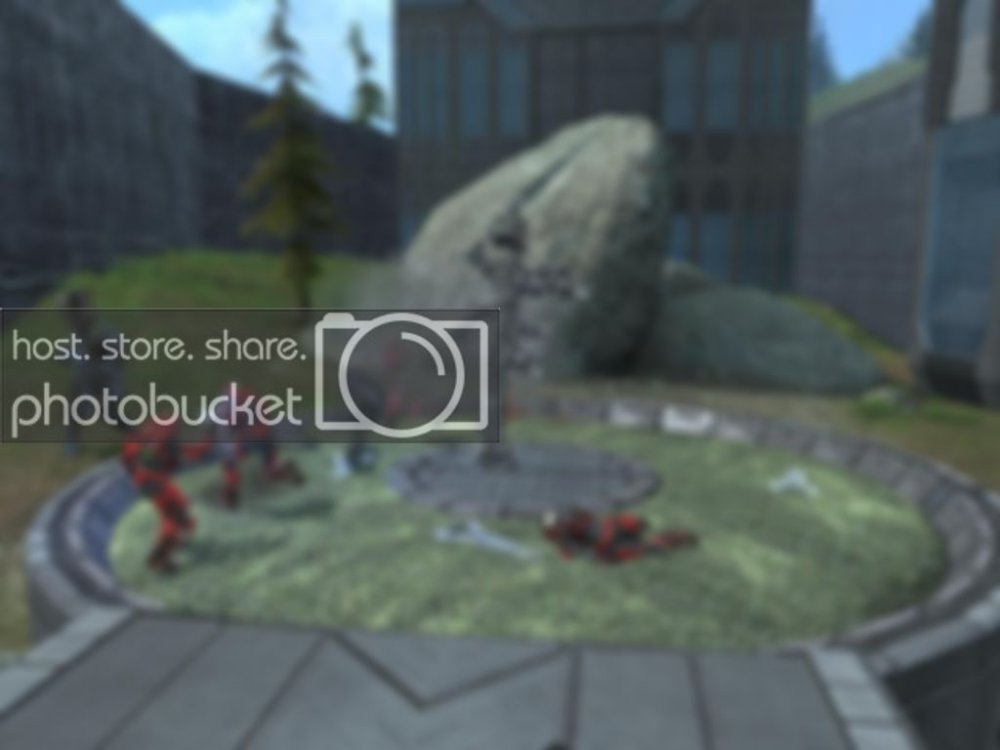
An overview of the uphill battle the attackers face.
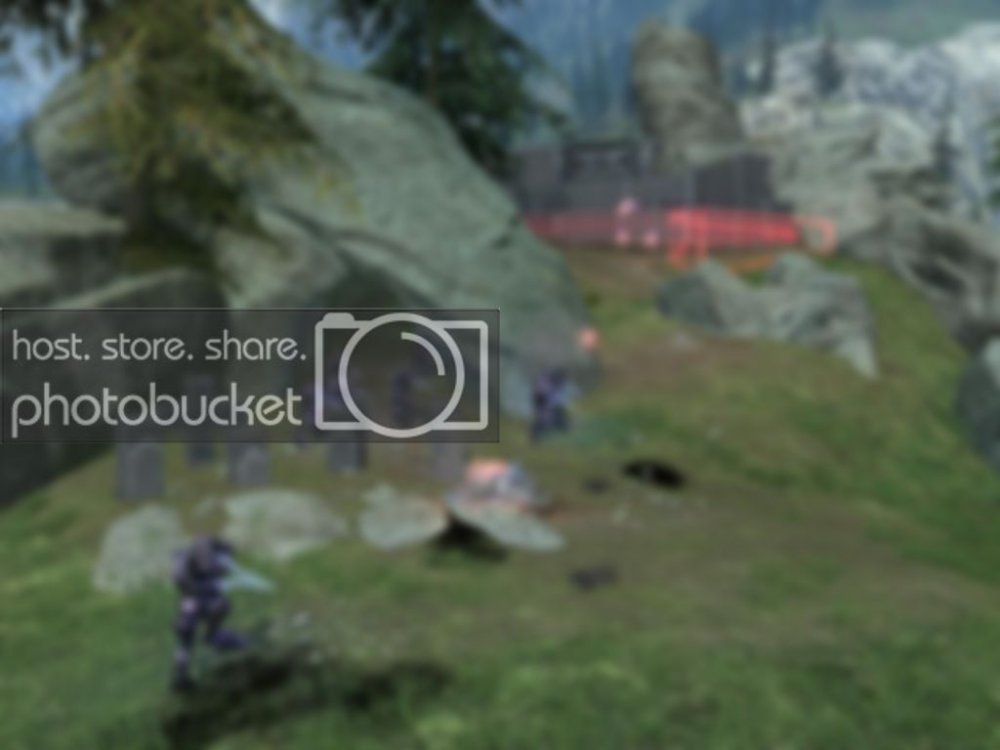
The Elites begin at the bottom of the hill, near the graves of their fallen comrades.
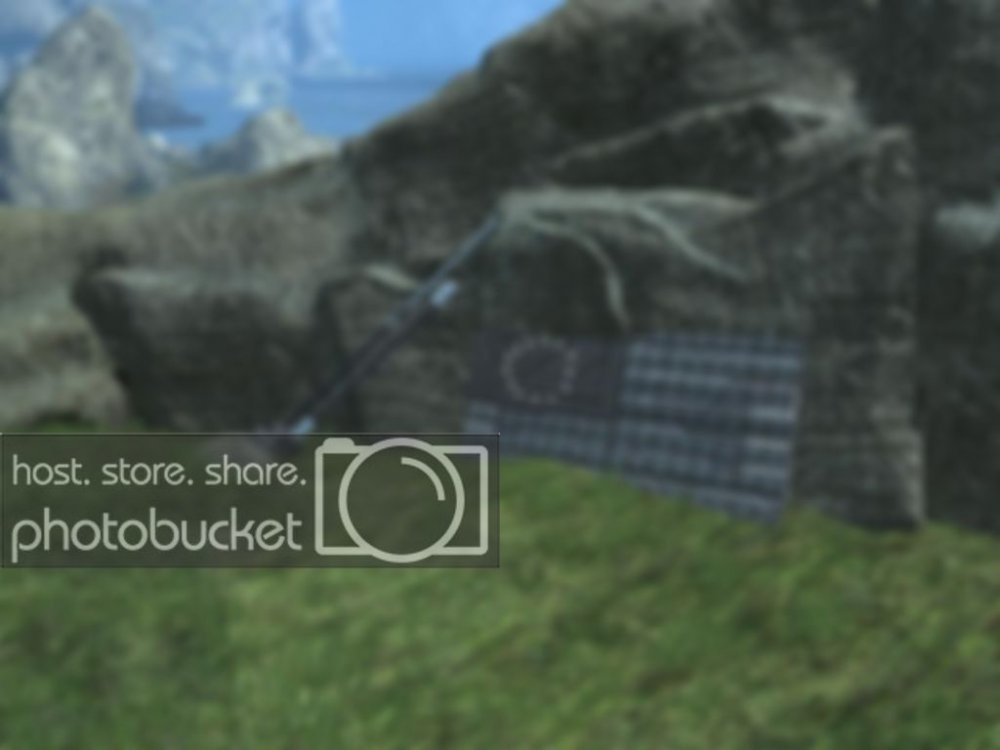
Behind them lies my next original construct, the broken-down flag of the Thirteen Colonies.
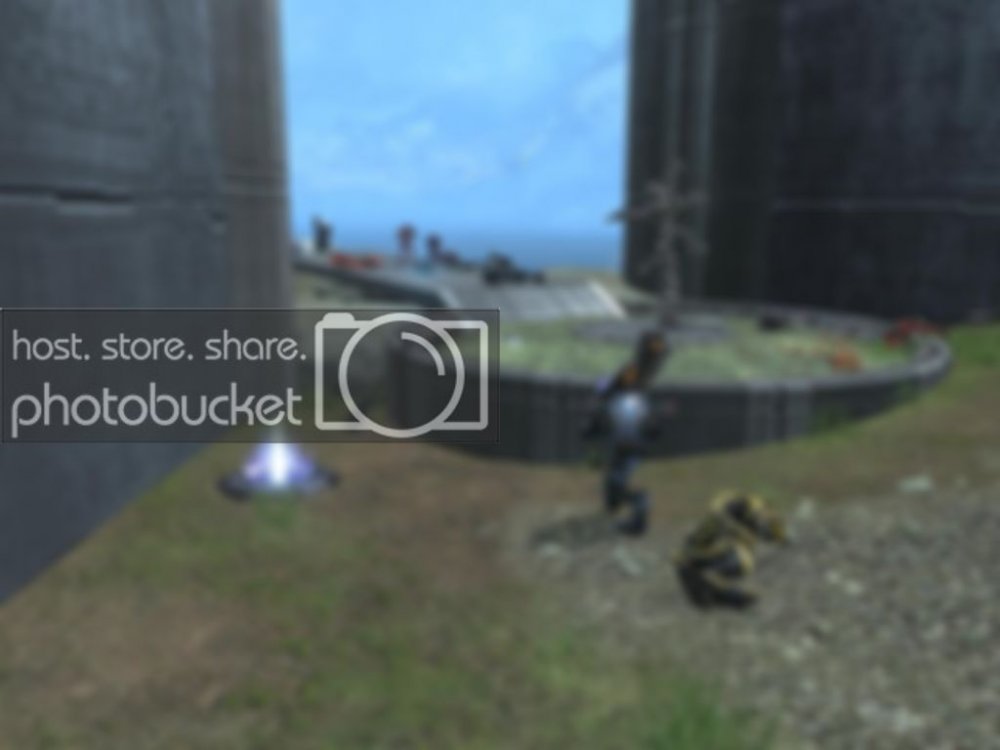
Battling their way uphill, the Elites had multiple options with which to reach their dual-objectives.
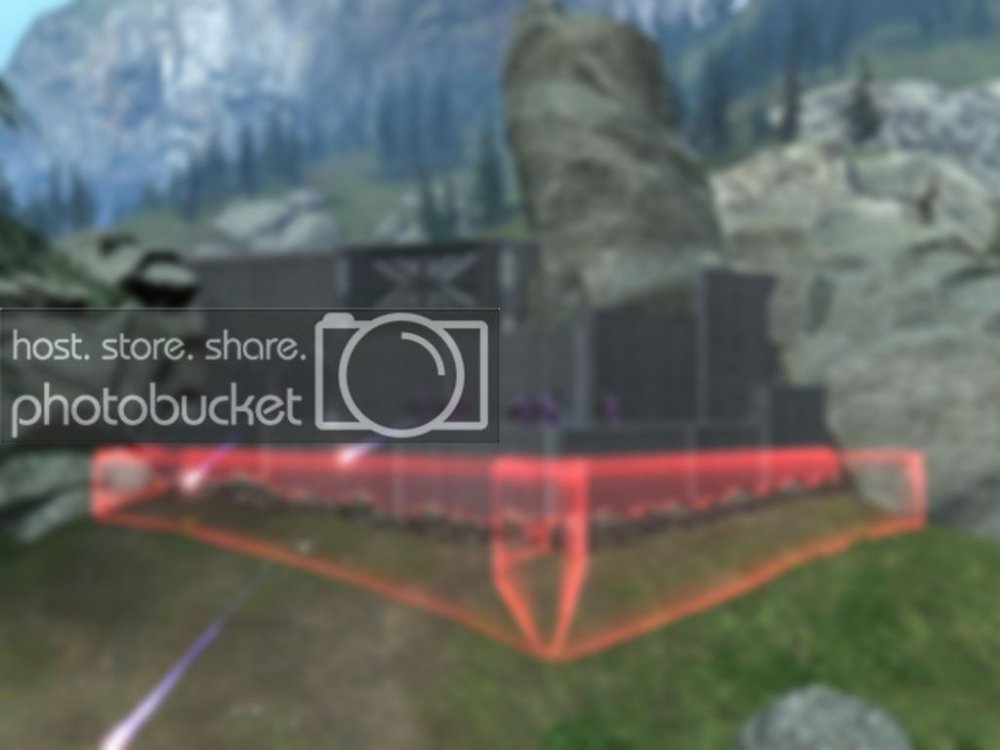
The British Bunker houses my last original construct, the Union-Jack flag, used to represent England's control.
Finally, atop a rock formation, we find the final eagle, my last homage to my favourite video game series.
Conclusion:
Well, I've reach the end of what I believe has been my longest thread on this forum. For those of you who found my rambling boring, I apologise, but I've got to say that I really love getting to share my creations with all of you. Thank you all for reading and I hope that you'll all enjoy playing this as much as we did while testing it. Also, if you think I deserve it please wish me luck in the contest, the anticipation is killing me! Thank you for your time and consideration 343iCF users!

-
 8
8
-
-
Alright, this testing session is at an end. I apologise "TheForgeCat" as I don't think that I saw you there, we must have been full. Anyways, to re-cap, for anyone interested, I was able to get one or two members from this forum to help me, along with a few friends and we managed to test both my [Purple Bunker] map (which was a success) and my new mini-game that I made with my friend, which was also successful and, if I may say so myself, extremely fun. I had a blast with the large array of players who joined in our mayhem and i appreciated everyone's help in our two hour effort. Should I have the time, I will post my Purple Bunker map tommorrow and, after speaking with my friend once again, I will try to reveal our mini-game to the forums. Keep an eye out, as I will try to offer other testing oppertunities in the future for any players interested (hopefully with more notice than one day). Thank you all for your time and consideration!
-- NO MORE TESTERS NEEDED - DATE HAS PASSED--
-
Hey, welcome to the forums. I think you'll really like your stay here!
-
Wow, thank you all for such an amazingly warm welcome. I've only been on this forum for almost three weeks now, but I absolutely love it. Thank you all for making this place so awesome with your comments, feedback and insight. I really appreciate it!
-
To be honest, as a more casual player and forger, I really enjoy both your infection and invasion videos. You guys seem to have a great amount of Infection videos already, so if there were any suggestion to make to you guys, it would be to post more invasion! I agree with Curly Parmesan, it is completely under-rated for the fun-filled experience it offers. Not to mention the difficult undertaking it can be to make such maps.
-
1
-
-
Hey 343 community members. My friends and I are thinking of testing out a few maps on (Friday, September 21st) We hope to start around 9:30pm-10:30pm (Eastern Standard daylight savings-time in Canada) and continue until find that we know enough about how they play. The two maps we forsee to test (and perhaps even a third) are all mini-games. The first one will be my [PB] submission to the THFE Contest and the second one, well I'm just going to keep that a surprise. Anyways, whoever participates will probably be in the pictures I post of the map once the testing is done. We hope to play each map atleast 2 times, to make sure we can get a full testing experience. If you are interested, please send me a message on Xbox Live, my gamertag being the same username I use here. I'll try to check this page, but I can't make any promises. Anyways, I thank all of you who are interested in advance! Keep in mind, the testing date is tomorrow!
I'm sorry for not giving many details, but we'd kind of like to keep this under our hats until we are ready to reveal the maps, which might be this weekend if all goes well. Also, if following testing you don't get a chance to give me your feedback, feel free to do so on this post, or rather on the maps' posts, which like I said will be up this weekend if the testing goes well.
-
1
-
-
Thank you, DoctorB77. I'm really glad that you like it!
-
Thanks Oakley, that sounds amazing. Please let me know what you think following the test!
-
Very cool map. I really like what you've done with the environment. Keep up the good work.
PS: Pictures #3 and #5 are awesome!
-
1
-
-
That's a tough question. I'm a huge fan of Firefight (Enough to have gone for the Vidmaster Challenge: Endure - and to have achieved it!) but I must admit that Spartan Ops looks to have a lot of potential. It seems to me like the oposite of Firefight, in the fact that we're infact playing as the invaders and must wipe out the defenders. Also, we must keep in mind that the whole "Spartan Ops Season" idea, where we would new missions as time porgresses, to be a more intriguing fact to add. Anyways, I guess that the way I see it is, we know Spartans Ops is going to be in Halo 4, (so, i guess I vote for that), but I can only hope that if they put Firefight in, that it could be made even better (if possible).
-
This is an awesome map Darth. I'm a huge fan of your large aray of mini-games, but I must admit that this is my favourite. The amount of technical detail you put into it is amazing and makes for a non-stop fun gameplay. My friends and I have stay up all night playing this with new groups of people, in the past, and it never gets old. Keep up the incredible work!
-
Intro:
Hey 343industries.org users, I'm here once again to post another of my maps. Keep in mind that this is a cooperatively-built map made by myself (Robius5991) and my friend (Xx10chickensXx). This was originally thought up by Xx10chickensXx, who started the project and then I ended up joining him in its construction, so the finished version will be found on his Fileshare. I would like to mention that TheHaloForgeEpidemic did inspire a few aspects for the map (especially the gametype). Once again, like in my Skyrim map, I will be using some LOTR "lingo" to describe certain aspects of the map.
Gamertags: Robius5991 and Xx10chickensXx
Map: LOTR: Minas Tirith
Gametype: LOTR: Assault on Gondor
The map (LOTR: Minas Tirith):
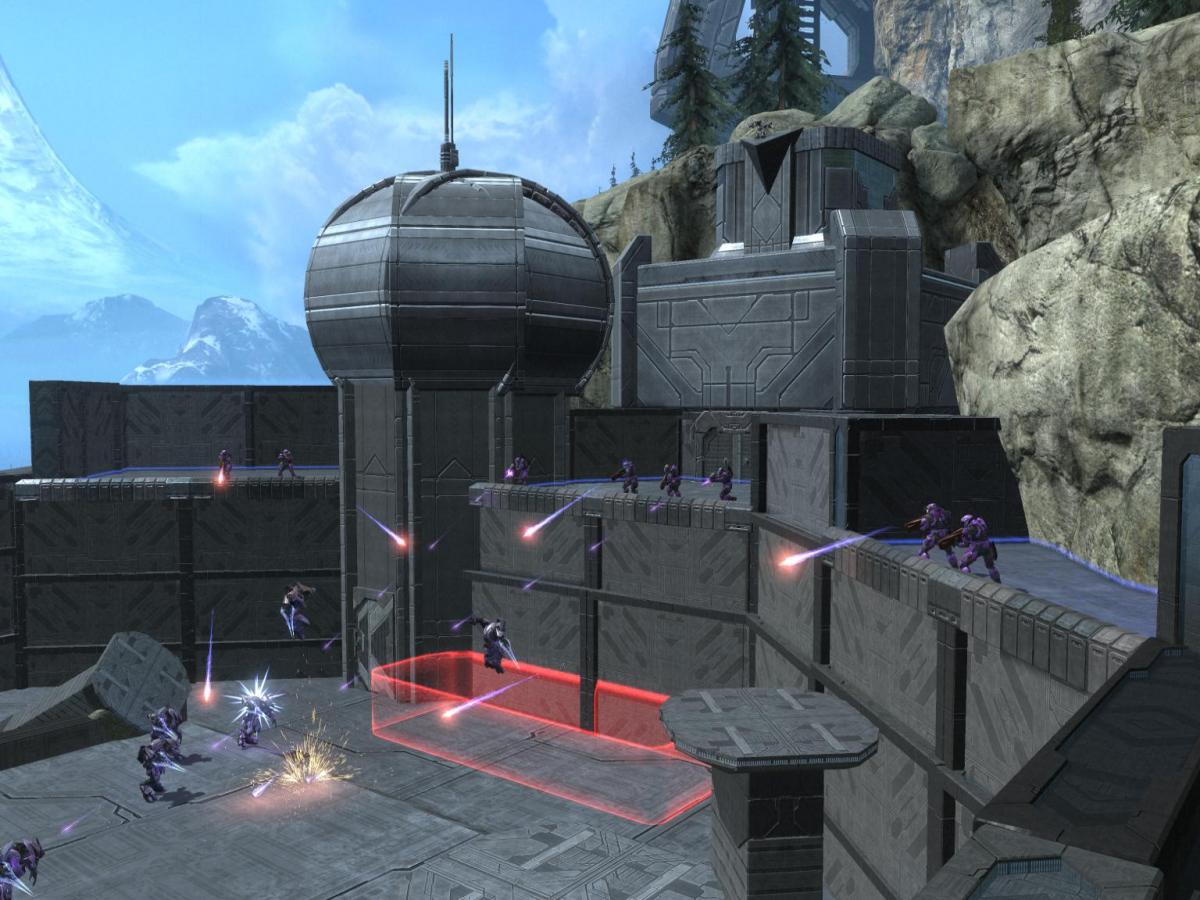
To begin, I would like to say that we tried to keep the feel of the great city while making this map, but for gameplay and aesthetics-sake, we had to cut it down to a 5-level structure instead of its original 7-level design. I would also like to point out that thanks to the specific gametype, weapons will not be found on the map. So, the game will start on the first floor. The Elites (or Orcs) have broken through the main gate of the city, but its upper terrace has collapsed and barred the door-way. Retreated into the left corner of the city, the Orcs will spawn in three close-grouped areas near their bomb. The goal of this phase is to charge past the houses and debris and plant a bomb at the barred gate of the second floor. The Spartans (or Gondorian army) spawn in-front of the gate to the second floor (and at one location on the second floor) and must protect their position. Once the gate is breached, the next objective for the Orcs is to take either a small temple or a market building on the second floor. The third floor is accessible, but a gate blocks access to the fourth floor until the next phase. The Orcs will spawn closer to these objectives and the Gondorians are forced higher into their city. The Orcs will also receive their hero-unit (Custom Powerup - 45 seconds) and a man-cannon to give them a second point of entry. Once one of the posts is captured, the final phase begins. Both armies have varied spawn areas and the Gondorians now receive their hero-unit. Running up the city, past the barricades and trebuchets, the Orcs must now reach the top of the city, capture the core (or crown of Gondor) and bring it to the peak of the mountain. The white tree of Gondor is easily seen once at the top and on the throne of the castle, the crown may be located. The Orcs will receive a teleporter on the first floor to get access to the tope, but they may also use a neutral man-cannon on the fourth floor or the main tunnel-cannon to reach their objective. I can only hope that my pictures serve better than my words to portray the map we have made!
The gametype (LOTR: Assault on Gondor):
To begin, as I mentioned in the introduction, we did use TheHaloForgeEpidemic's gametype as our basis, because to be honest it was absolutely brilliant and I want to make sure they get full credit for its creation. However, we did change the phase layout to better suit our map. I will now describe its changes:
Phase #1: Assault - 3 minutes long (10 second arm / 5 second disarm)
Phase #2: Territories - 5 minutes long (30 second capture / 7 second defence)
Phase #3: CTF - 4 minutes long (30 second sudden death / 45 second core return)
For the classes, although they are the same as THFE's version, for those who do not know them, here they are:
Phase #1:
Spartans:
Warrior - Energy Sword - Sprint
Elites:
Scout - Energy Sword - Evade
Phase #2:
Spartans:
Warrior - Energy Sword - Sprint
Sharpshooter - Needler Rifle - Sprint
Elites:
Berserker - Gravity Hammer / Spiker - Sprint
Warrior - Energy Sword / Spiker - Hologram
Phase #3:
Spartans:
Warrior - Energy Sword - Sprint
Sharpshooter - Needler Rifle - Sprint
Champion - Energy Sword - Armor Lock
Elites:
Berserker - Gravity Hammer / Spiker - Sprint
Warrior - Energy Sword / Spiker - Hologram
Champion - Gravity Hammer / Energy Sword - None
Heroes:
Can jump higher (a bit) run fast and kill quicker (but only for 45 seconds).
Once again, full class design and game settings credit (besides phases) goes to TheHaloForgeEpidemic. on the same note, I will mention that player speed is at 110% and jump height is at 75%. The damage tables are also turned. It will take 2-3 sword hits to kill a player and a full Needler rifle clip to down an adversary. We would also like to mention that because players may survive large falls (because of a gametype flaw that we could not resolve) kill boundaries were placed around the mountain, so beware where you jump. Also, it may seem easy to escape the map... but i do not suggest attempting it. Our kill boundaries are unforgiving! So, once again, for the reasons listed above, we will please ask you download our gametype to play with this map (not because we want to steal any of THFE's downloads, but because the phases are differently set up.)
Screenshots:
In this section, I will be posting pictures, along with a small description of each image, to give players a good idea of how the map looks.
The initial loadout camera.
The Orc spawn areas for the first phase.
The Gondorian Army's spawn areas at the opposing end of the first floor.

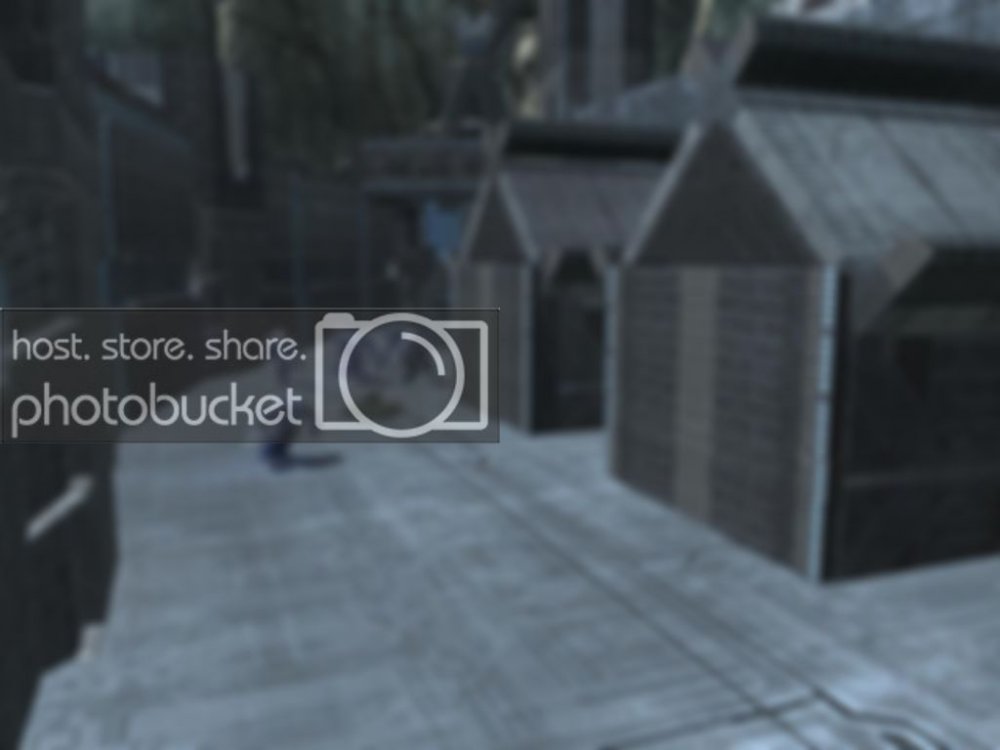
A battle taking place in front of the destroyed main gate, in the center of the main floor.
The objective for the first round (the barricaded second floor gate) - (The bars will disapear once the bomb has been placed).
A man-cannon is added near the Orcs' hero-room (The shield-door room in the background) to give them a second point of entry to their second phase objectives.
The market building (one of the second phase objectives).
The small temple building (the other second phase objective) - the man-cannon drops off near where the blue Elite is in the picture.
From the third floor (and second floor) the Gondorians can use the ramparts to jump over the wall and onto the lower levels. That barrier in the background disapeers after the second objective is captured, thus opening up the next floors.
At the end of the second phase, another man-cannon spawns for the Orcs, bringing them to tunnel which leads to the top floor.
A trebuchet that has already launched its stone and has been abandoned. (A slight alteration from THFE's awesome design).
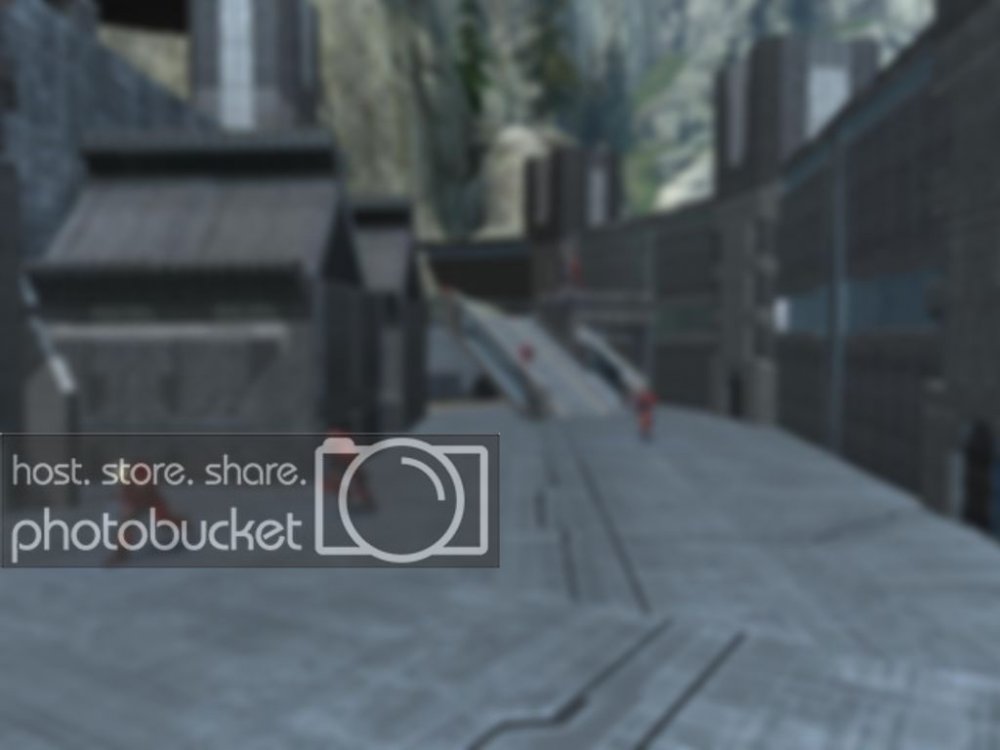
A second trebuchet on the ramp to the fourth floor. On the right we see the Gondorian hero-room on the mountain side. Then, in the center on the fourth floor we see another man-cannon which gives an alternative route to the top. Keep in mind, this entire area only becomes available in the last phase.
This ramp is the tunnel-way which will lead to the top of the city. Where you see the far-left Elite is the drop-off point of the second floor man-cannon (only during third phase).
Also, during the third phase, another point-of-entry appears as a teleporter on the main floor (which leads to the top). [We weren't happy putting these man-cannons and teleporters in the man, but to keep the gameplay fair and flowing, we needed to make sure the Orcs had 3 different points of entry to the core area.]
The White Tree of Gondor. (Don't worry you can't walk through it.. we've seen to that).
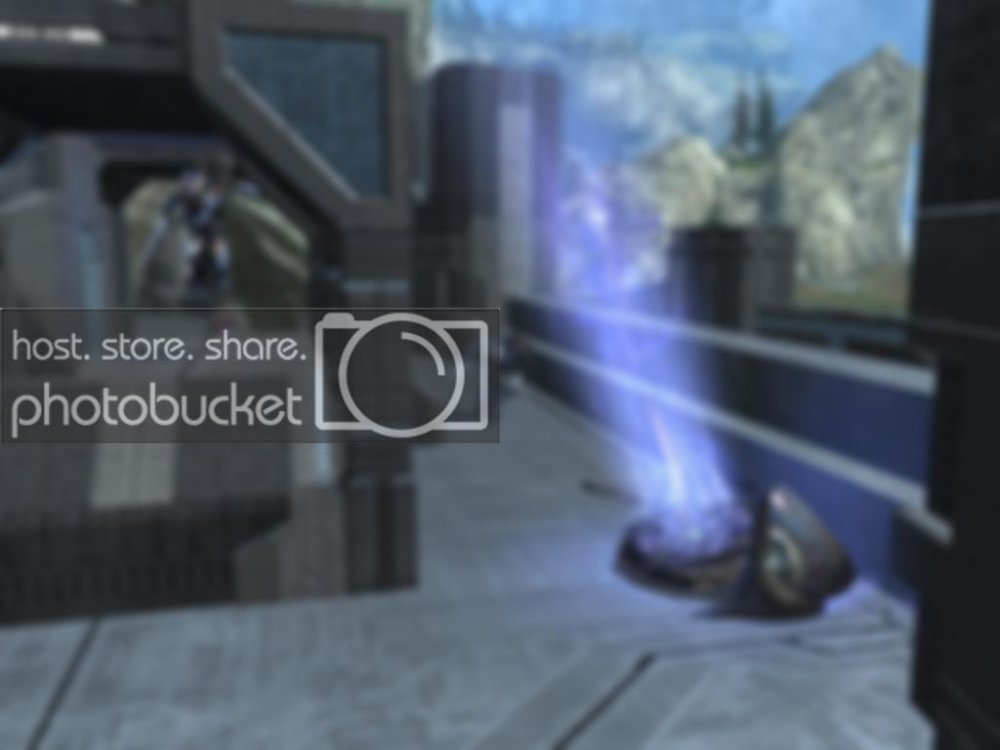
Another angle of the courtyard, highlighting the receiver node's position.
Working their way through the castle (all built by Xx10chickensXx), the Orcs will soon re-enter the courtyard and deliver the core to the tip of the mountain.
It's always in the Orcs' advantage to have soldier clear the way for the crown-carrier.
The end of a successful Orc Assault.
An overview of the main city. (Sadly we couldn't show the castle because this was the top height I could reach in Forge World.)
Conclusion:
Well, it seems that I am finally done with describing this map. I would like to say that I loved making this map with Xx10chickensXx and I know that we both hope everyone likes our first cooperatively-made map! Please leave me your feedback on our work, be it positive or simply constructive criticism, and we will both take it into account for our future maps.
-
6
-
-
Intro:
Hey 343industries.org community. I'm here to post a map that I made at the beginning of the summer. Being a big Skyrim fan, I got the dlc right when it came out and got myself all of the achievements. Once finished, I decided to do my best to re-create this iconic piece of Skyrim landmark. Keep in mind, while I describe the map, I will be using some Skyrim "lingo" to better explain the backstory of the map.
Gamertag: Robius5991
Gametype: The Dawnguard
The map (Skryim: Fort Dawnguard):
As I mentioned above, this map IS a re-creation of the actual Fort Dawnguard from Skyrim. When you see the pictures, I hope that any Skyrim fans will be able to see how I tried to keep the fort as accurate in terms of construction to the actual fort from the game. So, to begin, I will say that for an infection map, this is a rather large one and is built with a Free-Roam Infection-Survival mode in mind. The fort itself is a huge, multi-leveled structure, but I have also permitted outdoor combat (as seen in the DLC). The fort has four different entrances (outter turret - broken wall - roof - main door) in which I did have to use some "creative licensing" to make more entrances to the fort. As the Vampires (the infected) charge the grassy plains of the Fort, they will charge into the structure, entering a circular room which connects to the multitude of hallways. The fort features two caves, three floors and a large ammount of potential hiding places. I hope the pictures will serve better than my words to explain the map!
The gametype (The Dawnguard):
Here's where the Skyrim "lingo" begins. First of all, I will explain the teams. The humans, in this scenario, are Dawnguard Soldiers (also known as Vampire Slayers), while the zombies - infected, represent the Volkihar Vampires. The gametype uses Alpha Zombies as its basis, but has a few alterations which make it more unique. The Dawnguard Soldiers are all in brown armour (like in the game) and spawn with Assault Rifles and Sprint. A mix of weapons can be picked up, including the Vampires' swords. When the final Dawnguard soldier becomes Last Man Standing, his armour turns to Gold (with the power of light) and he receives endless stamina (unlimited sprint). All the Dawnguard Soldiers spawn into three squads and should consider gathering together if they hope to survive the Vampiric Onslaught. The Vampires have four initial spawns (There are always 3 Vampires). The Alpha Zombies are in this case called Vampire Masters and have black amour, wield a sword, spawn with evade and have enhanced speed and jump height. Whenever a Dawnguard soldier is "bitten", they become a Vampiric Thrall (a minion of the vampires). The Thralls have the regualr infected colouring (as their blood has been drained), they wield a sword and have sprint. All vampires, however, share the common trait which allows them to smell the Dawnguards' blood, thus giving away their position (red arrows above all humans).
Screenshots:
Here, I will provide a large amount of screenshots with a small description for each image.
This is an outside view of the massive fort.
The first Dawnguard squad spawn area (Right Turret).

The second Dawnguard squad spawn area (Near the entrance of the Fort).
The third Dawnguard squad spawn area (The back-room of the main floor).
The first Vampire spawn area (Outside the right flank of the Fort).
The second Vampire spawn area (Inside the fort, on the second floor - "They dug a tunnel" creative licensing).
The third Vampire spawn area (Through the mine tunnel on the main floor.)
The fourth Vampire spawn on the roof.
Some Dawnguard soldiers trying to hold out at the man-cannons (some more creative licensing).
The Last Man Standing holds out at the front gates of the Fort.

A Vampire Thrall charges the entrance of the Fort. (This shows the Vampires' ability to spot all living Dawnguard soldiers.)
A Last Man Standing is chased through the circular entrance of the Fort by multiple Vampires.
The Dawnguard hold out at the second floor of the circular entrance room.
The Dawnguard, grouped together at the spawning point of Isran's Hammer (Gravity Hammer).
Three Dawnguard soldiers holding out at the right turret. Beware, the Vampires can also attack from the roof!
A few Dawnguard soldiers fend off the Vampires at the left turret.
A Swordsman holds out near the Battle-Trolls' cell, on the main floor.
Beware your pace in the towers, as your enemies may be lurking within!
This side entrance, at the far right of the fort, represents a tunnel dug into one of the caves that surround the fort. (Creative Licensing)
The cave leads to a small hole in the ceiling of the mine room.
I know that I've put a lot of pictures in this post, but I think that to really appreciate its size, I needed to show all these screenshots. The thing I love the most about the gameplay is that it forces players to work together. If the Dawnguard want to survive, they must build squads and defend themselves from all directions. As for the Vampires, if the Dawnguard manage to hold a position, it is up to the Vampire Masters (with evade) to cause chaos by quickly breaking the position, then the Thralls must charge in to clear up the rest of the humans. This is currently my most popular (and one of my proudest) maps. The testing for it went great and we all really enoyed ourselves.
Weapons List:
Sniper Rifle: 1
Shotgun: 2
Gravity Hammer: 1
Grenade Launcher: 1
Magnum: 3
Assault Rifle: 3
Conclusion:
Well, I'm pretty sure that this is all I have to say about the map. I hope the community likes my first infection map!
-
1
-
-
Intro:
Hey everybody, I am here today on 343industries.org to show you guys one of my maps. Keep in mind that I have made other maps in the past, but I believe this to be the one I would like to begin my foray into the forum with. If you like what you see, you can look me up on ForgeHub (with the same name-gamertag) to see my past projects. Anyways, I'll get to the description and I hope that you all enjoy!
Gamertag: Robius5991
Map: Tanker
Gametype: Flying Fish
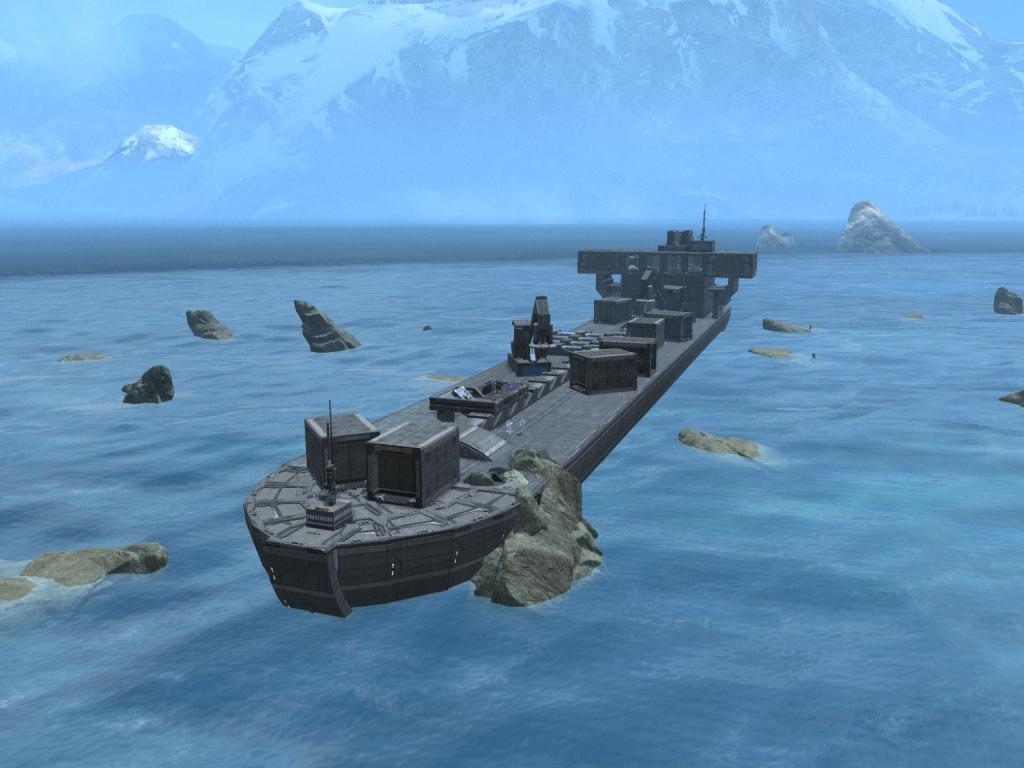
The map (Tanker):
To begin, I'll explain that "Tanker" is built as a Holdout-survival Infection map. The shape of the ship makes for a pretty thin map layout, but the multi-leveled terrain allows for a mixed combat experience. The large piping in the middle of the ship (representative of the pipes in which the oil would flow) allows for some evasive manoeuvring on the humans' part and the arrangement of crates are used as line-of-sight breakers. The main structure (The Control Tower) might be seen as the ideal holdout-area, but multiple entry points make it very difficult to secure against the infected. An overview of the Tanker will show that the ship is crashed into some rocks and that certain areas have been destroyed by the zombies. A small array of weapons can be found on the map which also offers the survivors different ways of holding out. If you would like to hear my backstory behind the map, feel free to read it below, if not, you can continue to gametype description,
[back Story]: Following a quick and unexpected Covenant attack on an ONI base, the officers tried to evacuate everyone from the facility in any naval vessels available. The majority of the ships were sunk by the Covenant Banshees, but one tanker managed to escape. In their frenzied race to survive, the navigators miss-judged their course and brought the ship to a rocky waterway. With no hope of turning around, they tried to make it through but crashed. The sharp stop, caused by the crash, threw many men overboard where they quickly came in contact with the liquid, now pouring from the ship. Instead of carrying oil, this tanker had been in the process of discarding dangerous nuclear liquids when it was commandeered for the escape. Now, the men thrown overboard are mutating. They turn blue and gain the ability to launch themselves out of the water, with the sole goal of killing the remaining crewmen.
The gametype (Flying Fish):
Now I'm going to make you wish that you would have read the back story... Anyways, the name says it all... kind of. The infected will always initially spawn on some of the rocks outside the ship (10 second soft kill boundary) but may later respawn on various points of the ship aswell as the rocks. As the name suggests, the infected have a higher jump height. I heard from testers that the addition of height added a mixed feel to the game and added to the flow of combat. Besides this adjustement, the game plays like regular infection, except for the fact that humans spawn with Assault Rifles. They must search for additional weapons if they want them and as usual, the last man standing receives the regular overshield addition.
Recommended Players: 6-16 players
Screenshots:
Here I'll be giving you plenty of Screenshots and a small description of each to give you a good idea of the map. Keep in mind that there have been updates since these pictures were taken and so any changes will be mention below with an **Edit** side note.
This is the initial loadout camera, which shows a wide view of the Tanker.
An example of the "Flying Fish" initial spawn.
Another example of a "Flying Fish" spawn (There are plenty around the ship).
The front of the Tanker (The Shotgun spawn being on the light fixture).
One of the human spawns (there are three) at the forward command post.
Some of the humans holding out at the oil-unloading pipes.
One of the two inaccessible cranes on the ship. Also, the pipes are green as to show the nuclear liquid within.
Both cranes have magnets on their base, to hold the crates. However, they are now holding weapons (don't worry, they're not fixed/phased).

The main door of the control room, which leads to a ramp and crate-filled wall. Pay attention to the player punching the crate in the back.
Once you punch the crate out of the way, it leads to a delayed weapon-stash with two power weapons and grenades. This area is a 10 second soft-kill, to avoid camping. To truly get access to this, players must protect "the puncher" while he opens the stash.
A view of the ramp that leads up to the top of the Control Tower.
A quick view of the Tanker's multitude of control panels.
This destroyed wall allows the infected a second entry to the tower, via the rear of the ship.

In this corner, we can see on of the destroyed panels with all its bent buttons and above it is the broken air-vent. **Edit**: (There are now one-way shield doors blocking the vents so the humans cannot jump in from the control room)
A different view of the control room with the second destroyed air-vent opening. **Edit**: (This air-vent also has a shield door - to avoid human access)
A small glimpse of the rear of the ship with a small elevator leading to the chimney and destroyed wall behind it.

The open window above offers a third opening for the infected into the control tower and the empty duct (which the zombie is running for) allows for access to the two broken air vents. **Edit**: (The roof is inaccessible to humans.)
A view of a zombie about to go through an air-vent, into the control room. **Edit**: (As I've said, there are now shield doors which both keep the humans out of the vents and now launch the infected into the control room.)
I would like to say that from the feedback I got while testing, that the map was rather well enjoyed and offered a nice twisted on the regular infected gametypes, without changing too much. We did not see the humans hold out until the end, however they did get within the last 10 seconds a few times.
Weapons List:
Shotgun: 2
Grenade Launcher: 1
Magnum: 2
Assault Rifle: 4
Grenades: Quite a few
Conclusion:
Well, that's all I have to show you for my overview of "Tanker". This was only my second infection map, but I hope that you all enjoy it as much as we did in Custom games.
I will be adding a link to a video of the game once we get the chance to post it. Thank you all for your time!

-
1
-
-
Hey 343industries.org users. Like it says above, my gamertag is Robius5991 and I've got to say that I'm really excited with joining this forum. Obviously, I'm here because I follow THFE, but also because I see this as a new and awesome way to showcase my maps. I'm a current forger on ForgeHub and plan to continue to post there aswell as here. This place seems like a great community and I really hope to connect with other players for map tests and game nights! Anyways, that's all for my introduction, see you all on the forums!
-Robius5991
-
2
-

Into the Sarlacc
in Objective Games
Posted
Intro:
Hey 343iCF and THFE members, I am here today to submit one of my newest maps. Keep in mind that this is a cooperatively made map, created by myself (Robius5991) and my friend (HI IM N1CK), the map being found on his fileshare. This is technically our first foray into the mini-game section of forging - if you don't count our submissions for the [PB] THFE Contest (which, btw, you can see in the regular "Forge Maps - Mini-games" section of the forum) but I digress. So, with that last bit of information, let's get on to the map!
Gamertags: Robius5991 and HI IM N1CK
Map: Into the Sarlacc
Gametype: Jabba's Arena
The map (Into the Sarlacc):
When we thought up this concept, we were basically just screwing around in Forge World and ended up creating a little machine that would launch you straight down into the ocean, thus killing you, if you got too close. I don't quite remember how we got on the topic of Star Wars, but the Sarlacc Pit idea came into our heads and we soon began reverting the map into that. The map itself is built into a circular area, a few feet inside the Sarlacc (past its fangs). The entire middle is a hole, in which the Sarlacc's mouth and tentacles stick out. This hole is covered by a shield door which will suck the players into a kill-zone (the Sarlacc's insides). Players can climb certain tentacles, to get a better view, but are usually far more vulnerable at that height. It is impossible to exit the map, thanks to boundary placement. Also, outside the Sarlacc, purely as aesthetic features, we have a small Skiff (like the one Luke Skywalker was going to be thrown off of) and we have Jabba the Hutt's large hovering sail ship.
The gametype (Jabba's Arena):
I'll be honest, for a mini-game, this is as simple as it gets. Each player has a concussion rifle and slightly enhanced speed. Everyone has 2000% damage resistance and are immuned to headshots and assassinations, thus making it extremely hard to kill them with weapons. Knowing this, here's how the gametype works. Everyone spawns only a few feet from each other within the arena. The easiest (and pretty much the point-of-the-game-related) way to kill each other, is to use your concussion rifles to knock each other into the pit. The more players, the more chaotic it becomes. As I've said, we know this is a simple concept for a mini-game, but we believe this brings players back to simple days of Halo: Reach, were you really don't need to think too much to have a ton of fun. Some people would team up, others would angle their shots into a specific way that they thought was better, but it seems that during testing, everyone had their own way of going about to win. I should also mention that suicides do not cost you points. Also, the reasoning for 2000% damage resistance instead of invulnerability is to allow the players who knock down the other to receive a point for it. The score goes up to 25 and there is a 10 minute maximum.
Recommended Players: 4-16 players
Screenshots:
Alright, here's my favourite part of posting on the forums, the pictures. Please keep in mind that with the FX we used and the general look of rocks in pictures, you will see lines in the pictures, but these do not appear in game.
A huge overview of the pit and ship (also the initial spawn camera).
Here is the Skiff, circling the pit, waiting to drop off more victims for Jabba's amusement (purely aesthetic).
Jabba's sail ship dominates the other side of the pit as the violent Hutt watches his gladiators battle to the death.
This is a closer view of the pit, showing the Sarlacc's tentacles and its beak.
Looking into the sky, players will see Tatooine's multiple suns, glaring down over the battlefield.
As I said, utter chaos dominates the playing field during every game.
The concussion rifles, with our FX combination, makes for some pretty awesome battle with some epic colouring.
An exemple of a player pushing another into the Sarlacc Pit.
The confetti in the crack shows another player falling to the cruelty of the Sarlacc.
The angle inside the Sarlacc, showing another poor soul falling to his death.
If you look closely you'll see a player falling into the beak of the Sarlacc.
This picture demonstrates how, when enough Concussion rounds are fired, it causes a flash of intense colouring.
The impact between Concussion rounds and rock causes spreads of smoke. Also, you can try to steal an enemy's kill by hitting his target a few times before he falls into the pit.
A similar instance of an attempted kill-steal.
A smart strategy can be to bounce yourself off a tentacle to not fall in, although this does not always save you...
Concussion jumping is possible, but beware to not fall into the Pit while you fly above the battlefield.
As I mentioned above, you can stand on certain tentacles to get a better point of view, but it makes you an obvious and easy target.
An example of a player being thrown off a tentacle.
The Sarlacc's mouth is littered with victims.
I would like to quickly add that from the feedback we got during testing, the gameplay worked very well and was a simple, yet challenging match. I want to thank all the awesome testers who gave us their time to help play this map. I'm also going to say that although it is possible to kill a player only with melee/weapons, I only saw it happen once in the entire game.
Conclusion:
That's all there is to show and say about the map and the gametype. I hope you all enjoy our first original mini-game and please be sure to check out my Purple Bunker submission: [PB] Assassin's Creed.