-
Posts
16 -
Joined
-
Last visited
-
Days Won
1
KeeLoker last won the day on September 5 2016
KeeLoker had the most liked content!
Contact Methods
-
Gamertag
KeeLoker
KeeLoker's Achievements

Drone (3/19)
17
Reputation
-
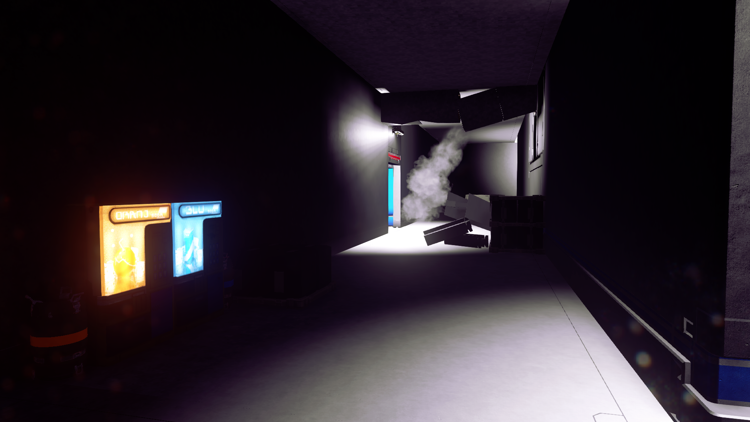
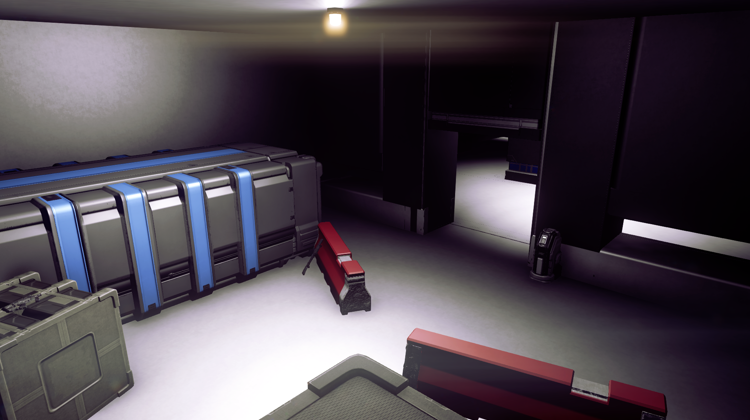
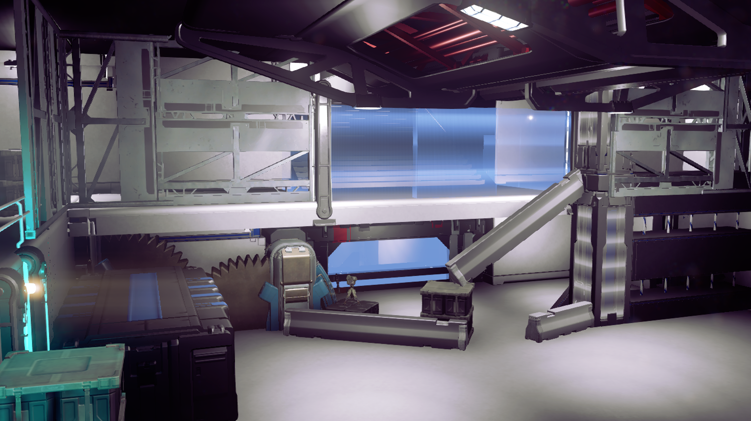
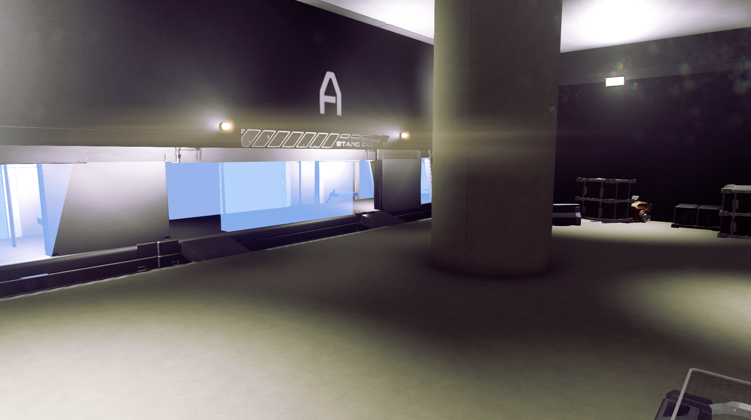
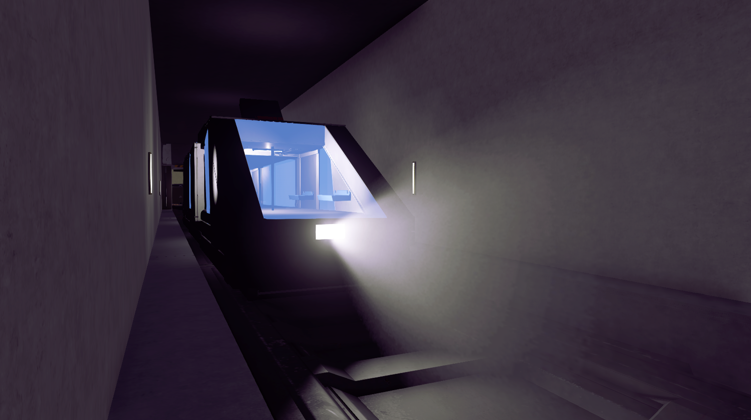
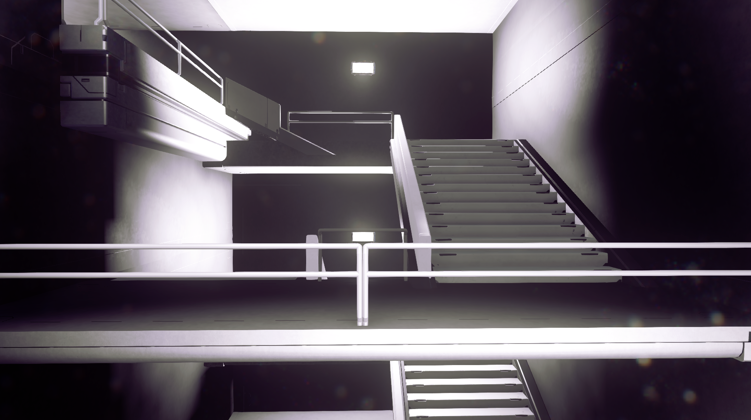
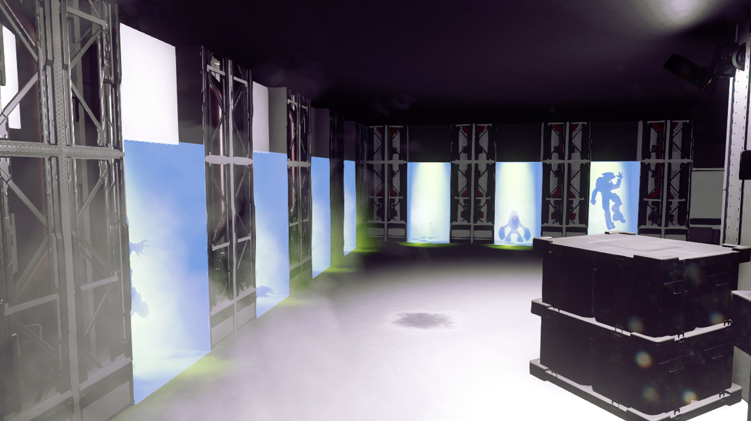
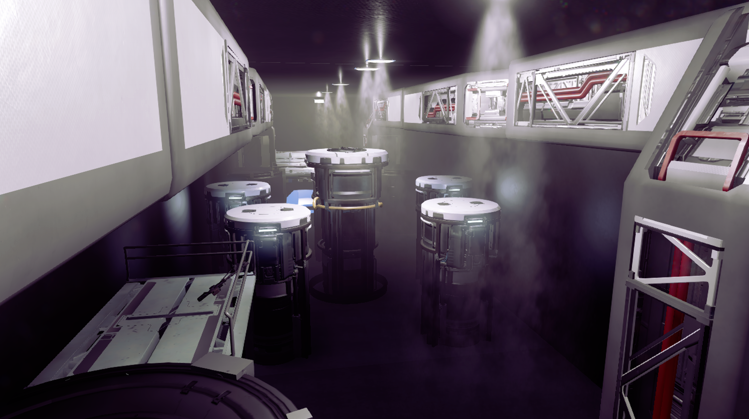
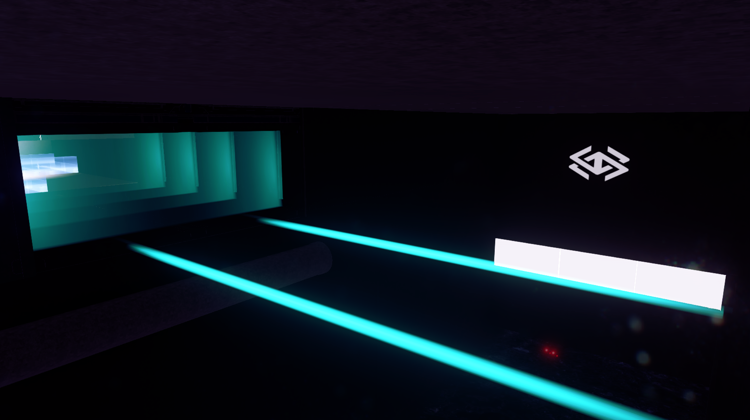
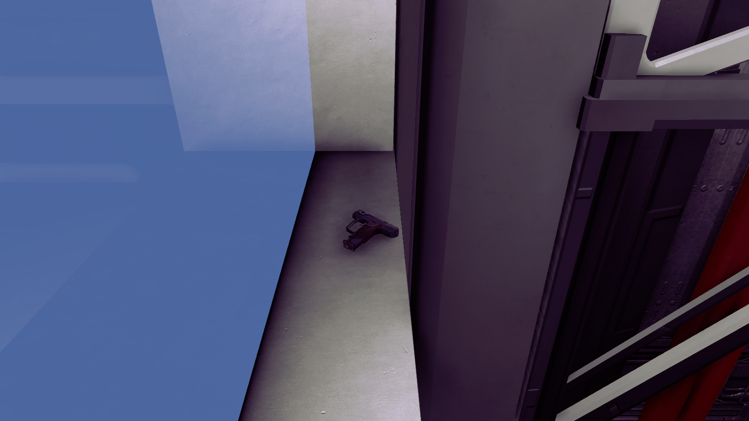
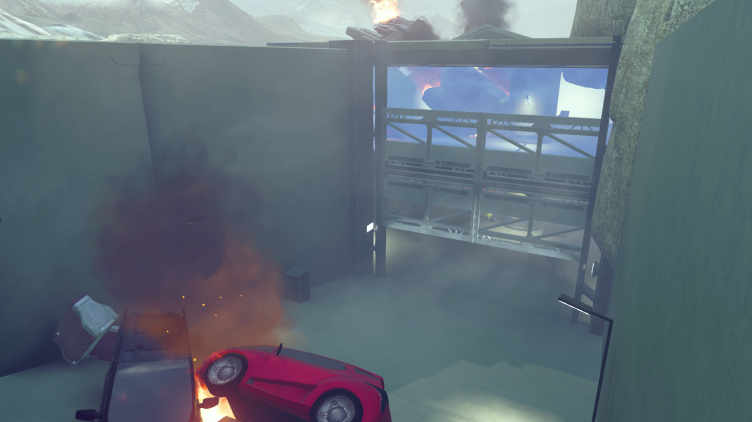
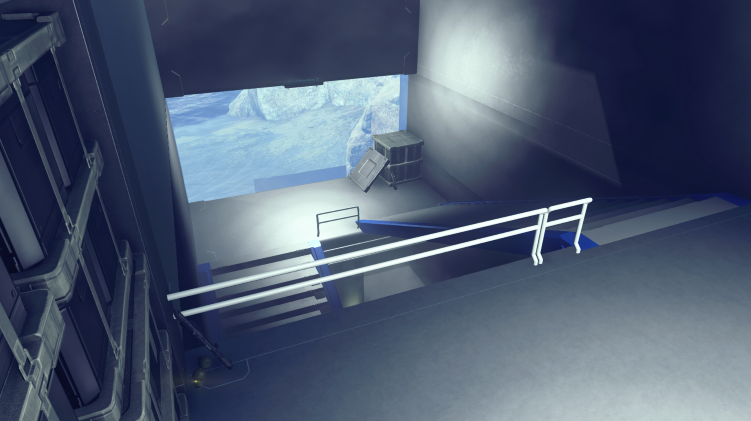
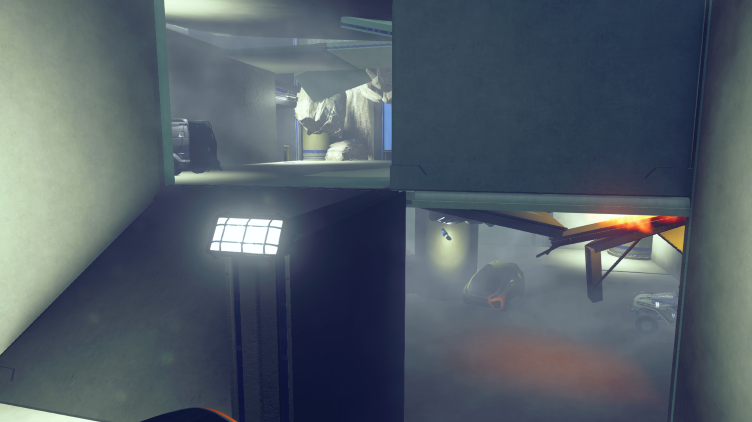
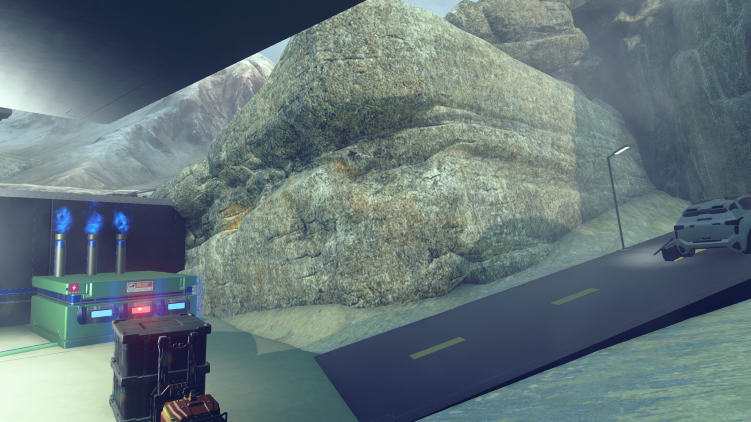
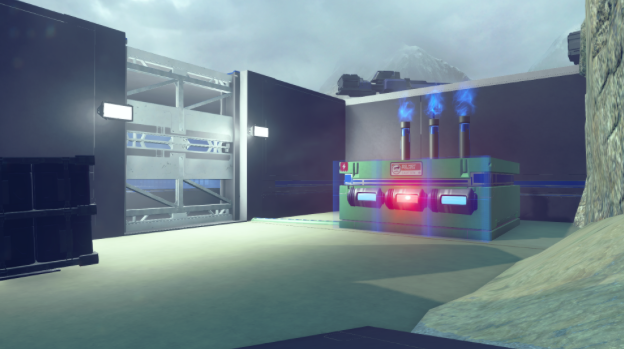
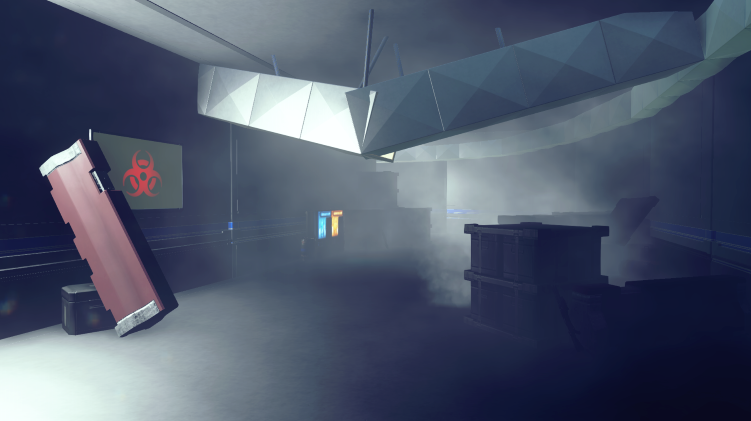
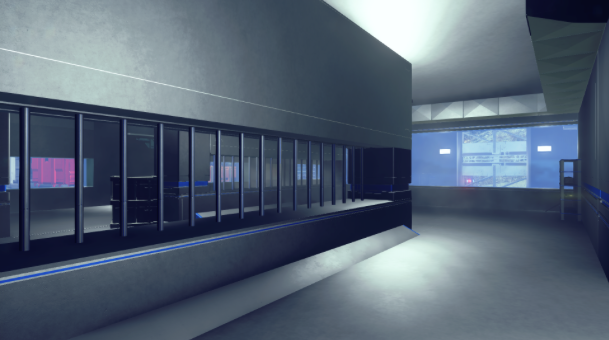
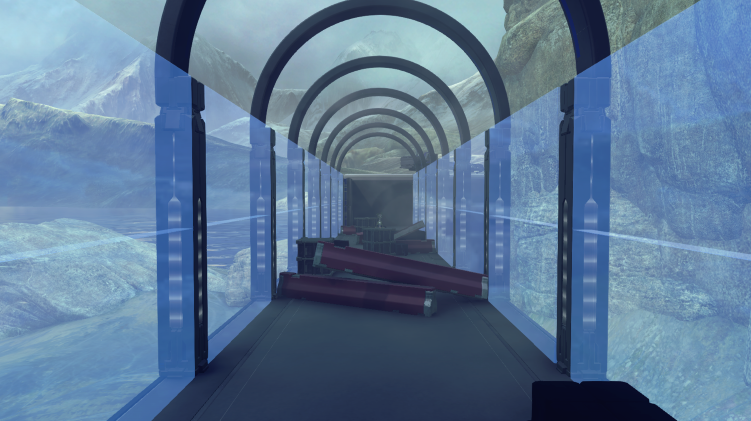
Map: The Labs Gametype: Project Chimera Story The goal of Project Chimera was to genetically mutate human specimen to give them unique characteristics and abilities that would otherwise be impossible to accomplish as an average human. By mixing the DNA of an average human being and the DNA of any animal, the scientists' hope was to create a hybrid soldier with amazing abilities that can only be possessed by the creatures of nature. The only problem was trying to find a catalyst to control the genetic mutation. When a failed test couldn't handle the proposed catalyst, the test subjects underwent a genetic mutation without the limits of a supposed catalyst causing the subjects to become hostile and uncontrollable. Breaking free from their cells, an evacuation had to be issued. Description The Labs is a linear style infection map based in an infested laboratory due to a failed genetic mutation getting out of hand. You and your group must reach a safe room on the opposite side of the facility. The twist to this map is that with the large size of the lab, there are two distinct paths to take to reach the safe room at the other side of the facility: The underground path takes you to the underground tram system The upper floor path takes you through the rest of the labs. You and your team must collectively pick which path to take as when one path is chosen, the opposite path is closed off. Background A Chimera is a fire-breathing monster composed of several animals. With the idea of creating genetic mutation hybrids, this Greek mythical creature came to mind thus Project Chimera was created. I wanted to create a linear infection map where there was choice implemented into it. At first I wanted to create a pick and choose path linear infection map but due to limits in forge, I only made one choice at the start of the map. This map is apart of a three part series following the story of the scientists trying to reach safety (Part 1), looking for a supposed cure (Part 2), and implanting the cure into the main mechanism and evacuating the laboratory (Part 3). Tips Humans - Teamwork and communication is key (as with all linear infection maps) Holdouts become progressively harder as the map progresses. - Weapons are usually supplied at every holdout but at times, there are some hidden power weapons which can really help the fight - The infected are very fast so team firing and calling out the infected's positions are key to survival - (Other than sprint) Clamber and thruster pack are the only spartan abilities at your disposal so use them well Infected - As said previously, the infected are very fast and are equipped with thruster packs, but to make matters worse, Alphas are able to sprint and really close the gap between the humans - Although a single teleporter will lead you to progressive spawn locations, those locations at times will have multiple ways to get the jump on the humans - The infected are quite weak but speed is their ally. Attacking the humans in large groups will cause utter chaos and usually the death of several confused humans General - Progression is absolutely mandatory. If you as a human or infected stay back, teleporters will spawn killing you if you do not move ahead in the map - Everything on this map is based on a 4-minute time limit so each trigger occurs at a specific time so pay attention to the time counter! (See list below for time sequences) Key: (___) - Human triggers [___] - Disturbed triggers *Triggered by a button **Shows how long the door takes to close, not when it happens Underground Time Sequences (Down) 3:30 - [First spawn location opens] 3:15 - (Door button spawns), [second spawn location opens*] 2:35 - (Button to start train spawns), [Third spawn locations opens*] 2:00 - [Fourth spawn location opens] 1:30 - (Emergency Exit door opens) 1:00 - [stairwell Vent opens] 0:45 - (Door to saferoom opens), [Final spawn location opens] 0:30** - (Saferoom door closes) Laboratory Time Sequences (Up) 3:30 - [First spawn location opens] 3:15 - (Door button spawns) 3:00 - [second spawn location opens*] 2:15 - (Door to generator room opens) 1:30 - (Door to gondolas opens), [Third spawn location opens*] 1:10 - (Button spawns to activate gondola), (Fourth spawn location opens*] 0:45 - [Final spawn location opens] 0:30** - (Saferoom door closes) Easter Egg? So… I really do like making hidden secrets in maps that I make and besides hidden weapons around the map like this one However, there is a FULL BLOWN multiple step easter egg that I created. The only hint I'm giving is this poem… (cause it's cool and mysterious and…why not) What lies below Cannot be seen Destroy them all Wipe it clean If you head up and progress The door will rise If you go underground In a room, it lies While riding a machine A bright light fixation One stands out The answer is activation The finale awaits What was once locked away But you unlocked it's seal Now rain destruction and dismay
-
KeeLoker started following Get Your Forge Map Showcased Today! , The Labs , Gang Beasts and 1 other
-
Oh didn't know this came from something. Well hey it looks fun and I'll definitely try it out in a lobby
-
This map looks really cool and fun but the aesthetics are a little lack luster. I know I'm just a fellow random forger so if you want to brush this off feel free but I like giving feedback. But I was thinking maybe making the whole environment a little darker so seeing the train lights incoming is that much more intense and overall makes the map feel more atmospheric. Just a few thoughts but overall looks like a fun map.
-
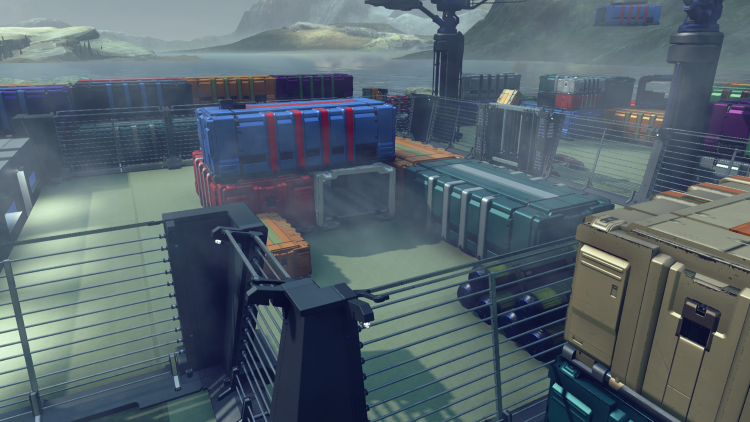
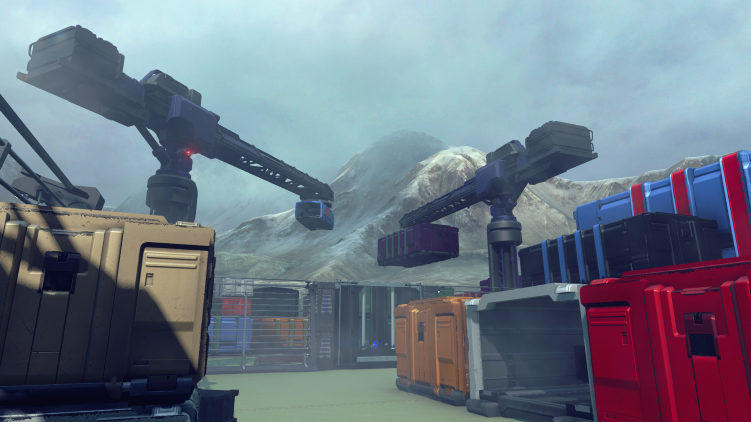
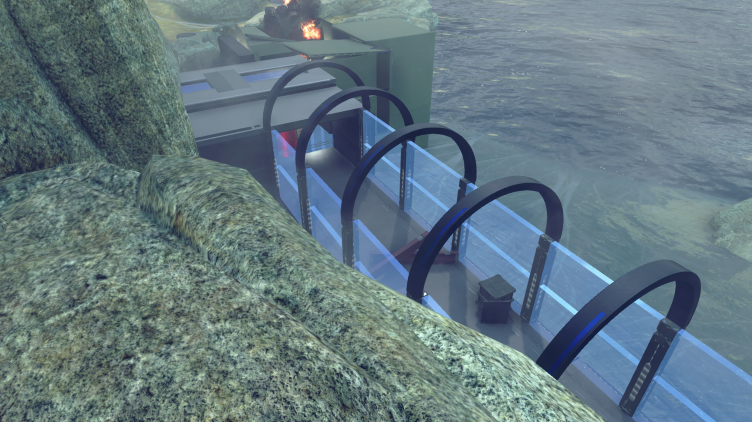
FINAL UPDATE…hopefully Holy butt this map has gotten so much crap done to it, but hopefully this will be the last of the crap done to…it? Most of the changes on this map are just visual differences to make it more aesthetically pleasing. Changes in this "FINAL" update: -Added teleporters which teleport to death that spawn into earlier stages of the map as the map progresses discouraging people to stay back and not progress -Fixed the zombie starting room to be less confusing and slowly introduce routes one by one and not throwing them all at once ONLY Route 3 opens up Followed by Route 4 and so on - Major visual overhaul mainly to the beginning of the map (I tried making the ground less boring so I used images like this to get the idea of a sort of road system within the shipping yard itself for vehicles and such) As well as some visual improvements in the indoor environments So unless someone finds something game breaking with the map and/or I regretfully (but probably willingly) put this in a testing lobby to only find out there is still more to be done, this is the final update... ...Nah probably not sadly idk
- 9 replies
-
- linear infection
- infection
-
(and 1 more)
Tagged with:
-
*Update 6* (Post Finalization) Sorry I keep adding update after update for this map but I just keep finding other things to add. These changes were made to help balance out the overall map more and also create an overall better experience. Here are the changes this update: - Added a second route for the infected that can be accessed through Route 1. Whether you get to this part of the route or the original one is totally random -Fixed the lighting in the tunnel spawn - Made the final button to close the garage not spawn after a time limit but instead once pressed, the garage will slowly close (In 25 seconds) to create a more intense experience - Small tweaks to overall map geometry
- 9 replies
-
- linear infection
- infection
-
(and 1 more)
Tagged with:
-
I have a linear infection map called Shipment that I'd like to showcase. However I'm going to be away the next two weeks on vacation so I won't be able to come in to walkthrough the map. I can after or before the 20th. My GT is KeeLoker. Thanks!
- 9 replies
-
- 1
-

-
- forge
- user created
-
(and 7 more)
Tagged with:
-
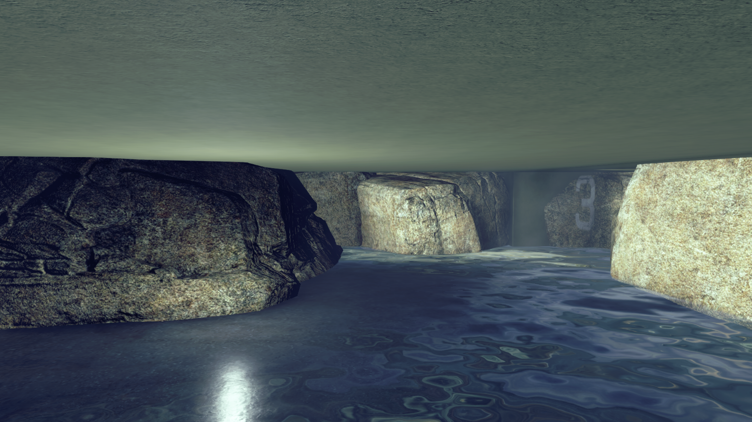
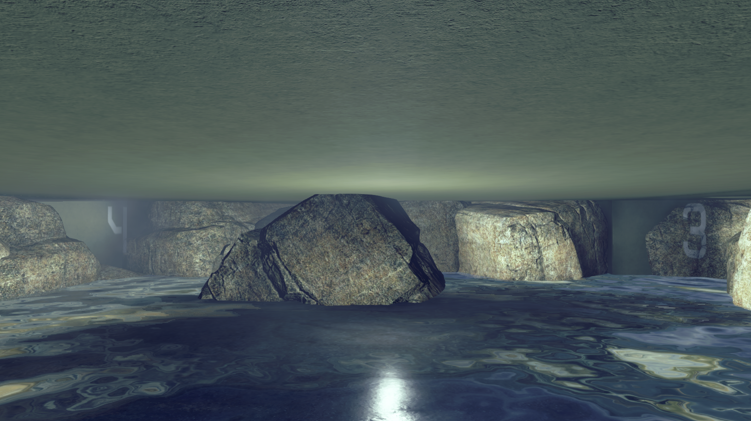
*Update 5* (Post Finalization) Shoutout to Max Extra's Forged Friday for testing my map. I was able to get more feedback when he ran my map in his testing lobby. Everyone seemed to enjoy it but there were still some minor issues that were easily fixed in this update. Most of the issues were because of the following reasons: - Tunnel system for the infected was still slightly confusing to navigate - Some parts of the map had minor issues with gameplay for both humans and infected Here are the changes in this post final update: - Added a rock wall in the tunnel spawn to make paths more clear for the routes. Eventually it despawns allowing for the infected to enter new routes With rock wall Without rock wall *Spoiler for one of the secrets in this map* - Made it so the second door that can be opened by shooting/slashing a side generator in the shipping yard fully goes down so humans or infected won't don't get stuck on it - Added more cover on the bridge to balance out the chain gun turret Before After - Added more crates in the corner of the third holdout room as well as a jersey barrier that "conveniently" makes a path up to the corner. This was done because some people would tend to camp in that corner making it hard for the infected to kill the humans and discouraged map progression for the humans Before After - Added lights (similar to those of the route entrances at the tunnel spawn area) that emphasize certain paths the infected can take New light over vent lift - A lot more aesthetics added - Other small tweaks to map geometry I call this update (Post Finalization) because prior to this update, the map was still technically fully playable. These are just some minor issues that are easy fixes and not game breaking.
- 9 replies
-
- 1
-

-
- linear infection
- infection
-
(and 1 more)
Tagged with:
-
*Update 4* Most likely the last major update. I feel this map can no longer be worked on so I'm going to be updating my initial post and it will be (as of right now) the final version. I'll keep the updates here though just so people can see how the map has changed. Anyway, besides any small tweaks made in the future, here's the final update to this map: - Moved the initial infected spawns to give them a chance at infecting someone at the start of the round - Changed the time of Route 2 closing from 2:00 to 1:35 - Changed the time of Route 4 opening from 1:00 to 1:10 for zombies to use this route more often - Changed the time of Route 4 closing to 0:45 - Button to close the final garage spawns at 0:10 now - Added more invisible walls and timed kill bounds to prevent humans from escaping the map and/or entering the tunnels themselves - Other small tweaks to geometry and scripting on the map Although I am finalizing this map, any feedback can still be useful as I can still make changes to the map.
- 9 replies
-
- 1
-

-
- linear infection
- infection
-
(and 1 more)
Tagged with:
-
*Update 3* Hah…so remember when I said one final update would be coming…yeahhh probably going to be more than just one… hah whoops So I ran another test lobby and these are the issues that people had: - Survivors would stay back and hide in certain areas instead of continuing through the map (Although this was an issue, I can't figure out a way to fix this. I'm aware I can spawn in teleporters at certain times but since my map is fully open, people are capable of back tracking for whatever reason and that can lead to an unexpected death. The issue itself is very minor since there is direct path from the tunnels to the first location via rock formations making a ramp so I feel it's not too big of an issue) - The infected found themselves getting turned around and confused especially with the last route But thank GOD people actually understood the fact that you needed to destroy the power box on Route 2 The changes in this update are pretty major considering I totally redesigned the final hold out room (that being the parking garage.) I did this for several reasons: -The final route for the infected was pretty immersion breaking seeing as the path given had invisible blockers to prevent the infected from going somewhere that seems so obviously open. Also the arrow was pretty stupid and immersion breaking now that I look back at it. - I wanted to give the humans a more intense feel with their last mad dash to survive and escape - The parking garage itself was quite lacking and I felt I could do a lot better So once I fully update my post, I'll include the new look of the parking garage and everything else. But anyway here is the full list of notable changes made: - Added a glass shield in front of the power box that slowly moves exposing the power cores allowing both infected and humans to destroy it - Completely redesigned the parking garage for an overall better experience - Change the time from Route 5 expanding from 0:30 to 0:35 to better suit the redesign of the parking garage So yeah…as said previously..this won't be the final update considering I made such a huge change. Hopefully I can finalize this map soon and get this into more lobbies to test but that itself has been somewhat difficult.
- 9 replies
-
- 1
-

-
- linear infection
- infection
-
(and 1 more)
Tagged with:
-
*Update 2* Most of the changes made are pretty minor but after more testing was done, the only few complaints made were: - The tunnels being too claustraphobic - Route 2 STILL being confusing to open up Most issues were easily solved but the only problem that still is present is the power box outside the building in Route 2. I literally did everything I could think about doing to make it obvious that you need to destroy the power core inside. I changed the one power core to red (although you can blow up any and it'll work), I added a blinking red light, and I added an ironic decal saying "do not touch" which would imply that you do touch it. Most of the people quickly caught on to the fact that you needed to blow it up but there was always a few who just didn't understand, I don't know if it's really that difficult or that some people just are a little "slow" at understanding things. Either way I considered taking out the power box entirely and just having the garage open automatically at a certain time but people said to keep it because it was a cool feature and I also agree that it gives the infected more things to interact with. So I'm keeping it in the map and just hoping people who play will catch on. Anyway, here are the changes I made in this second update: - Made most of the tunnel routes for the infected more open and spacious - Added more spawns for the infected to easier maneuver through the tunnels - Removed gravity lift from Route 1 due to the tunnel being more open - Made visual changes to the power box on Route 2 - Increased the time of the vent opening even more from 1:40 to 1:35 - Added an arrow above parking garage to make the path for the infected more clear - Replaced Assault Rifle with laser sight with Lawgiver - Other small tweaks to geometry and scripting on the map I really feel this map is coming along very well and I think only a couple more tests are needed to have this map be at it's full potential. Expect one final update and afterwards, I'll edit my initial post as a finalized version of this map with new images and such.
- 9 replies
-
- 1
-

-
- linear infection
- infection
-
(and 1 more)
Tagged with:
-
*Update 1* - Gave thruster packs to the humans to better move around the map - Moved the initial spawns of the zombies to give the humans a chance to react quicker - Added a green light to the first door switch to make it more obvious when it spawns - Added a gravity lift to route 1 to avoid the infected from blocking the teleporter - Added blinking red lights to the building door button and the power box to make it more obvious - Decreased the time of Route 2 from 2:30 to 2:45 - Added a Railgun by the road to add a risk vs reward scenario by route 2 - Added stacks of crates instead of the small one blocking the entrance to the bridge to have humans spend more time in the stairwell - Increased the time of the vent opening from 1:45 to 1:40 to give humans more time to escape the stairwell - Added a mounted turret on the bridge to encourage humans to not run straight to the end and wait by the door - Replaced DMR by the switch with an Assault Rifle with a Laser Targeter* - Other small tweaks to geometry and scripting on the map* All of these changes were made due to a couple of issues found during testing: - Humans sometimes were wiped our straight away at the beginning - Humans and zombies had some difficulties traversing the map - Humans tended to run off all the way to next door having the infected having to play "catch up" Some of these changes are also just to see how it would effect gameplay and will be decided whether it should be kept or not based on player feedback. *Post Warzone Firefight update As you can see, this map is still in very early stages of testing and much more testing needs to be done. I will keep posting more updates until I feel the map is at its best condition.
- 9 replies
-
- 1
-

-
- linear infection
- infection
-
(and 1 more)
Tagged with:
-
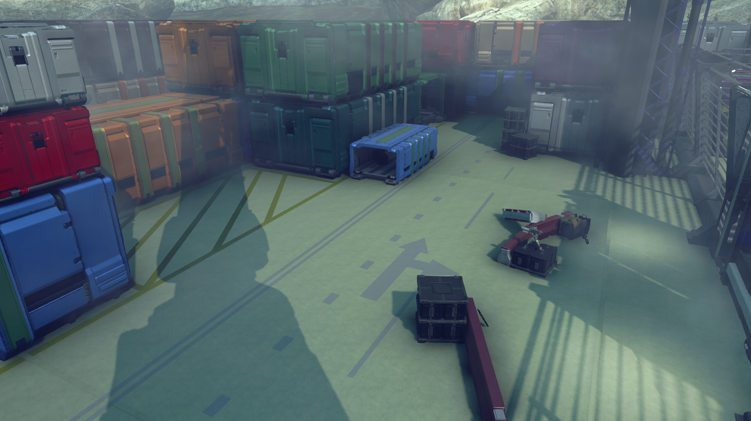
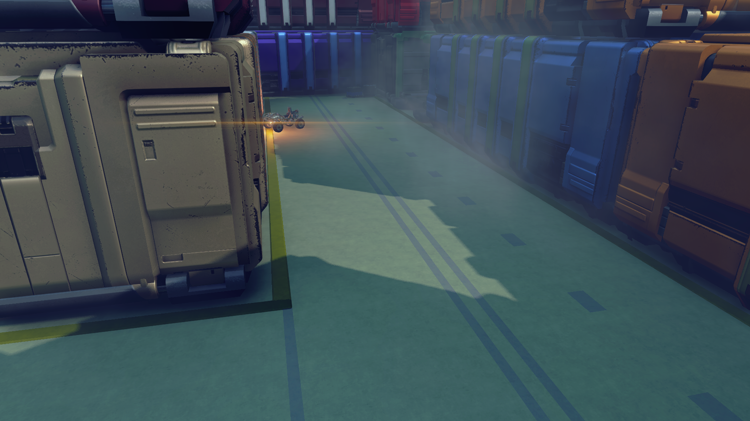
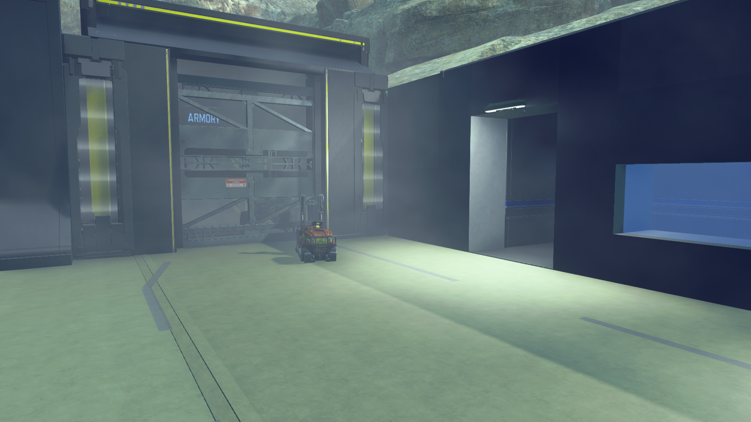
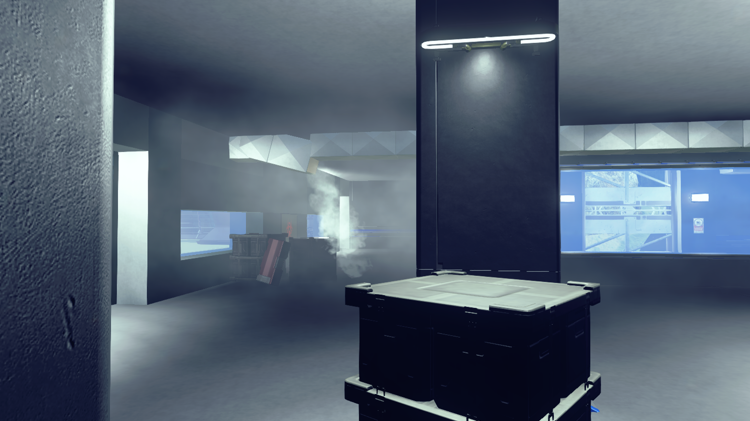
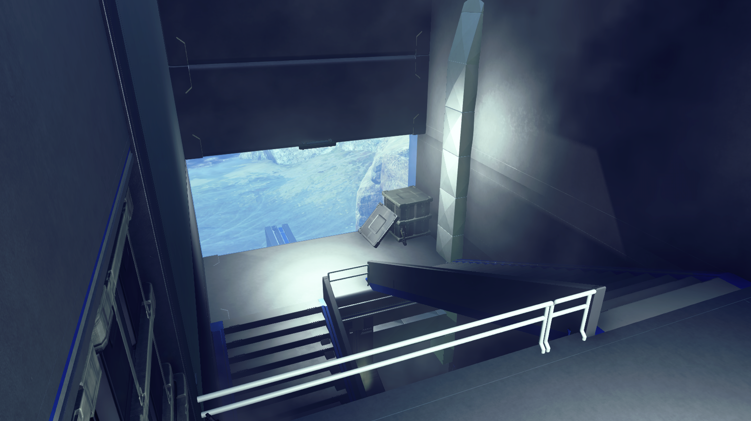
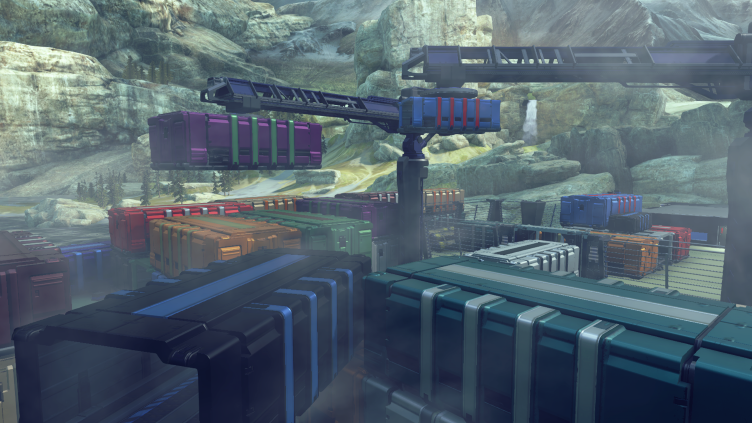
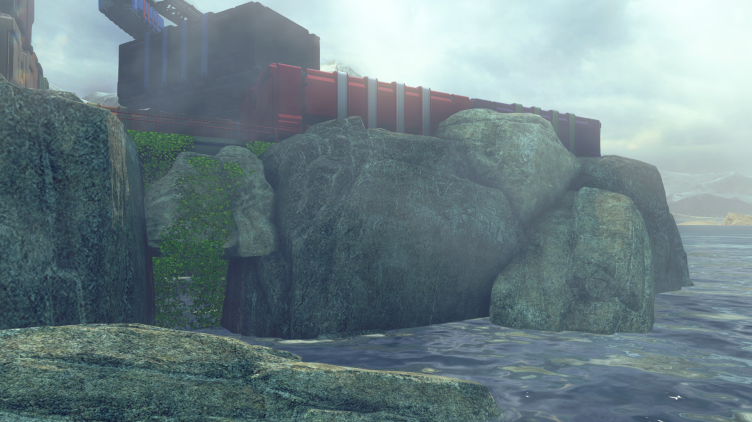
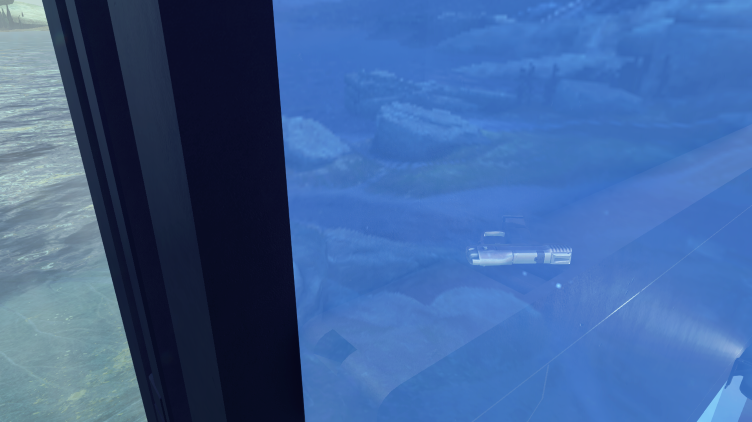
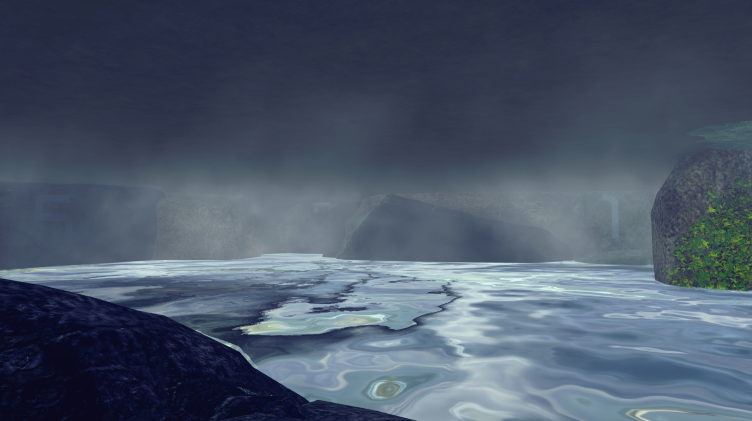
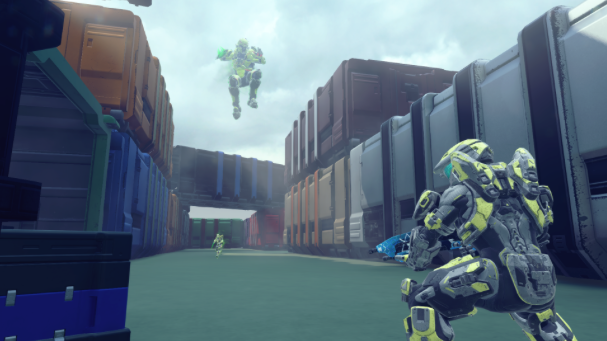
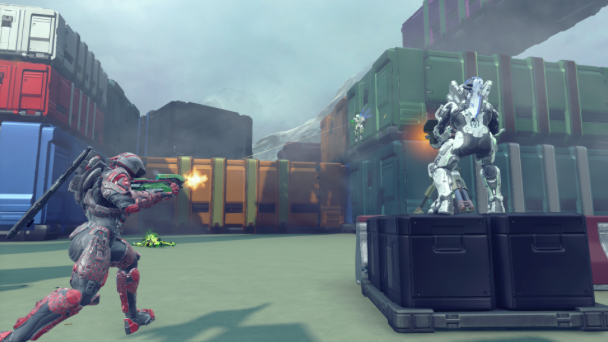
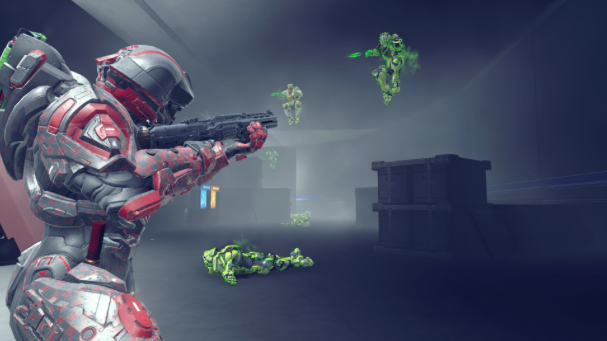
Map: Shipment (Recommended 10-16 players) LINK Gametype: Disturbed (Needed to play) LINK Gamertag: KeeLoker "Working at an ocean side shipping yard, you and some fellow workers discover underground caves that sprawl all under the shipping yard. Little did you know what was lurking below…" Description Shipment is a linear style infection map based around an infested shipping yard along the shores of an ocean. You and your group must escape the shipping yard and reach the parking garage to which you can close the garage and seal away a threat no man should ever face. Shipment provides many different environments to fend off the infected in to keep gameplay flowing smoothly. Some include open areas located mostly in the shipping yard itself Some indoor close quarter combat A narrow linear path along a bridge As well as some open indoor environments The infected or "Disturbed" also have plenty of different and unique routes to get the jump on the humans What separates this linear style infection map from others is that there are several hidden secrets that can benefit both the humans and the infected. They can range from hidden power weapons to activating certain objects. It's up to you to discover them as you traverse through Shipment. Although these pictures might help you find a few. Gameplay Images* *from earlier versions of the map Tips Humans - Teamwork and communication is key to survive as a human. Holdout areas have been strategically made so that each stage gets progressively harder so making sure that the humans are equally covering areas of entrances from the infected will ensure success. - Utilizing power weapon's advantages and avoiding their disadvantages is super important on this map. If you don't think a weapon is all that useful right now, save it for a time when it might be useful. - Assume the infected can come from any direction - (Other than sprint) Clamber and thruster pack are the only spartan abilities at your disposal so utilize them well. "Disturbed" - As the match progresses, the tunnel will lead you to specific areas that also progress with the map itself (See list below for time sequences of areas) - The power box outside the building has destroyable power cores that open the garage near it - Alpha zombies have thruster packs available to them so take advantage of that General - Everything on this map is based on a 4-minute time limit so each trigger occurs at a specific time so pay attention to the time limit! (See list below for time sequences) Key: (__) - Human triggers [__] - Zombie triggers 3:30 - [Disturbed tunnel opens] 3:15 - (Button spawns to open first door), [Tunnel expands] 2:45 - [Tunnel opens new area] 2:00 - (Second door opens), [Tunnel opens new area], [Tunnel closes previous area] 1:35 - [Vent opens up], [Tunnel closes [previous area] 1:10 - [Tunnel opens new area] 0:45 - (Third door opens), [Route 5 opens up], [Tunnel closes previous areas] 0:35 - (Tunnel expands) 0:25* - (Final button to close the door) *Instead of it spawning at 0:25, it takes 25 seconds for the garage to close.
- 9 replies
-
- 3
-

-
- linear infection
- infection
-
(and 1 more)
Tagged with:


